Teams
ACTS Teams play a crucial role in fostering collaboration and streamlining workflow management within any application. In our context, teams serve as fundamental units for organizing users and assigning them to specific tasks or projects. The team creation feature enables administrators or team leaders to establish distinct groups within the application, allowing for efficient allocation of resources and delegation of responsibilities.
By creating teams, users can be grouped based on their roles, departments, or project affiliations, fostering a sense of belonging and facilitating targeted communication and collaboration. Additionally, team creation provides a structured framework for managing access permissions, ensuring that users have appropriate levels of access to relevant information and functionalities within the application.
Homepage
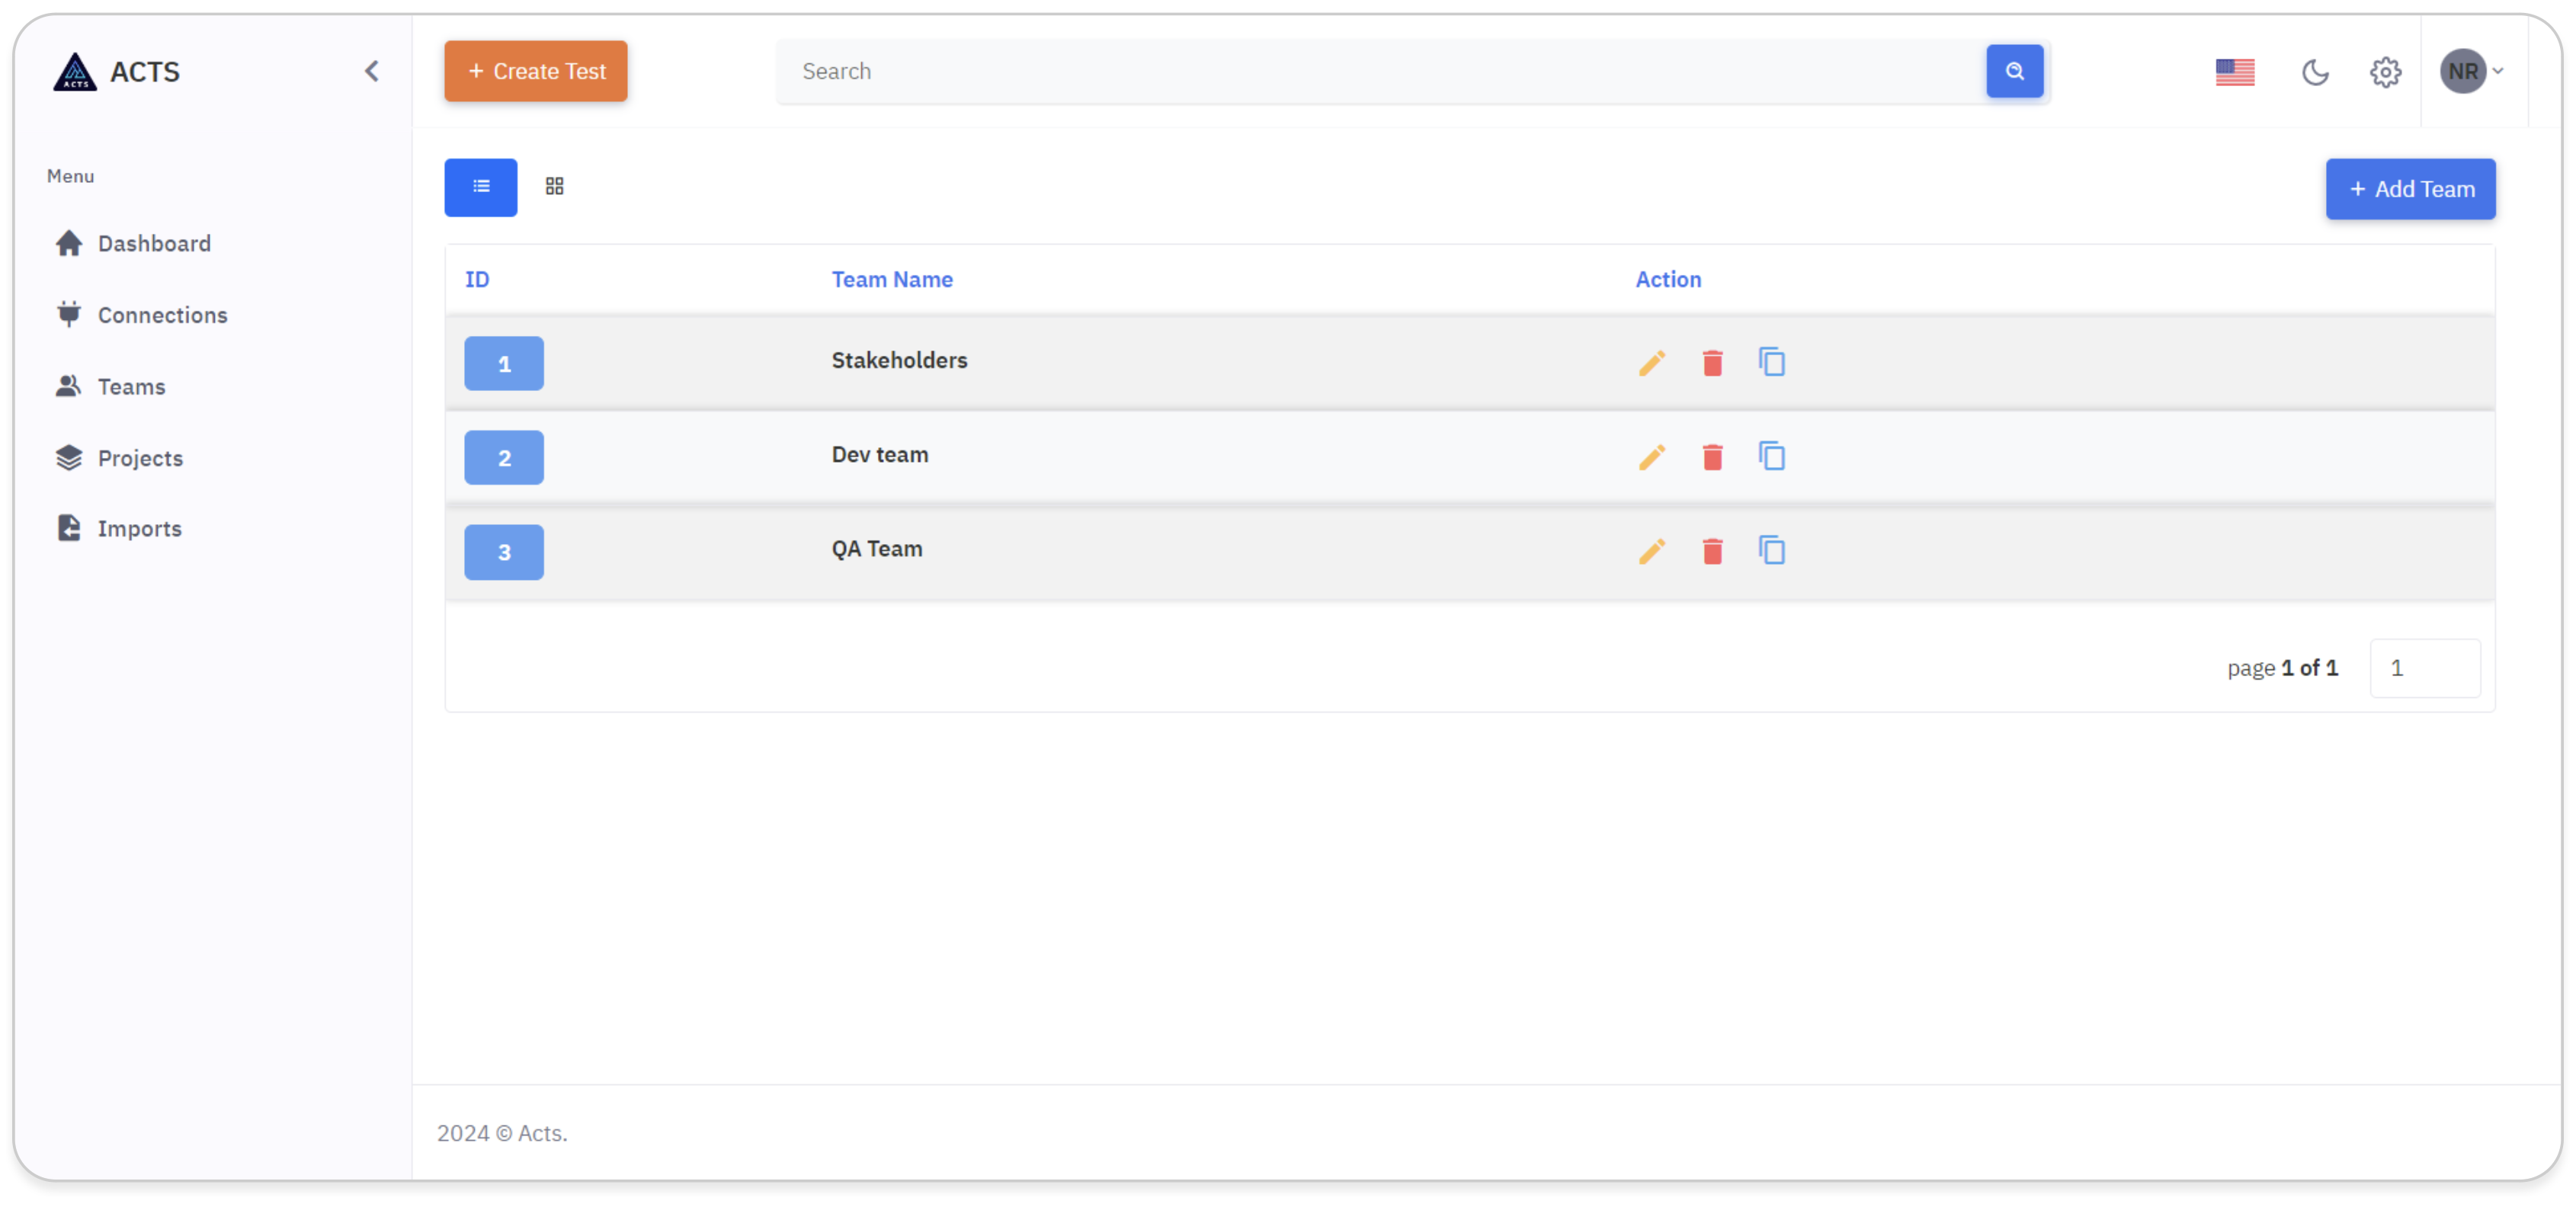
The home page of ACTS Teams serves as the central hub for managing and organizing team-related activities within our application. Here, users can access a comprehensive overview of all existing teams, along with pertinent details and functionalities tailored to team management.
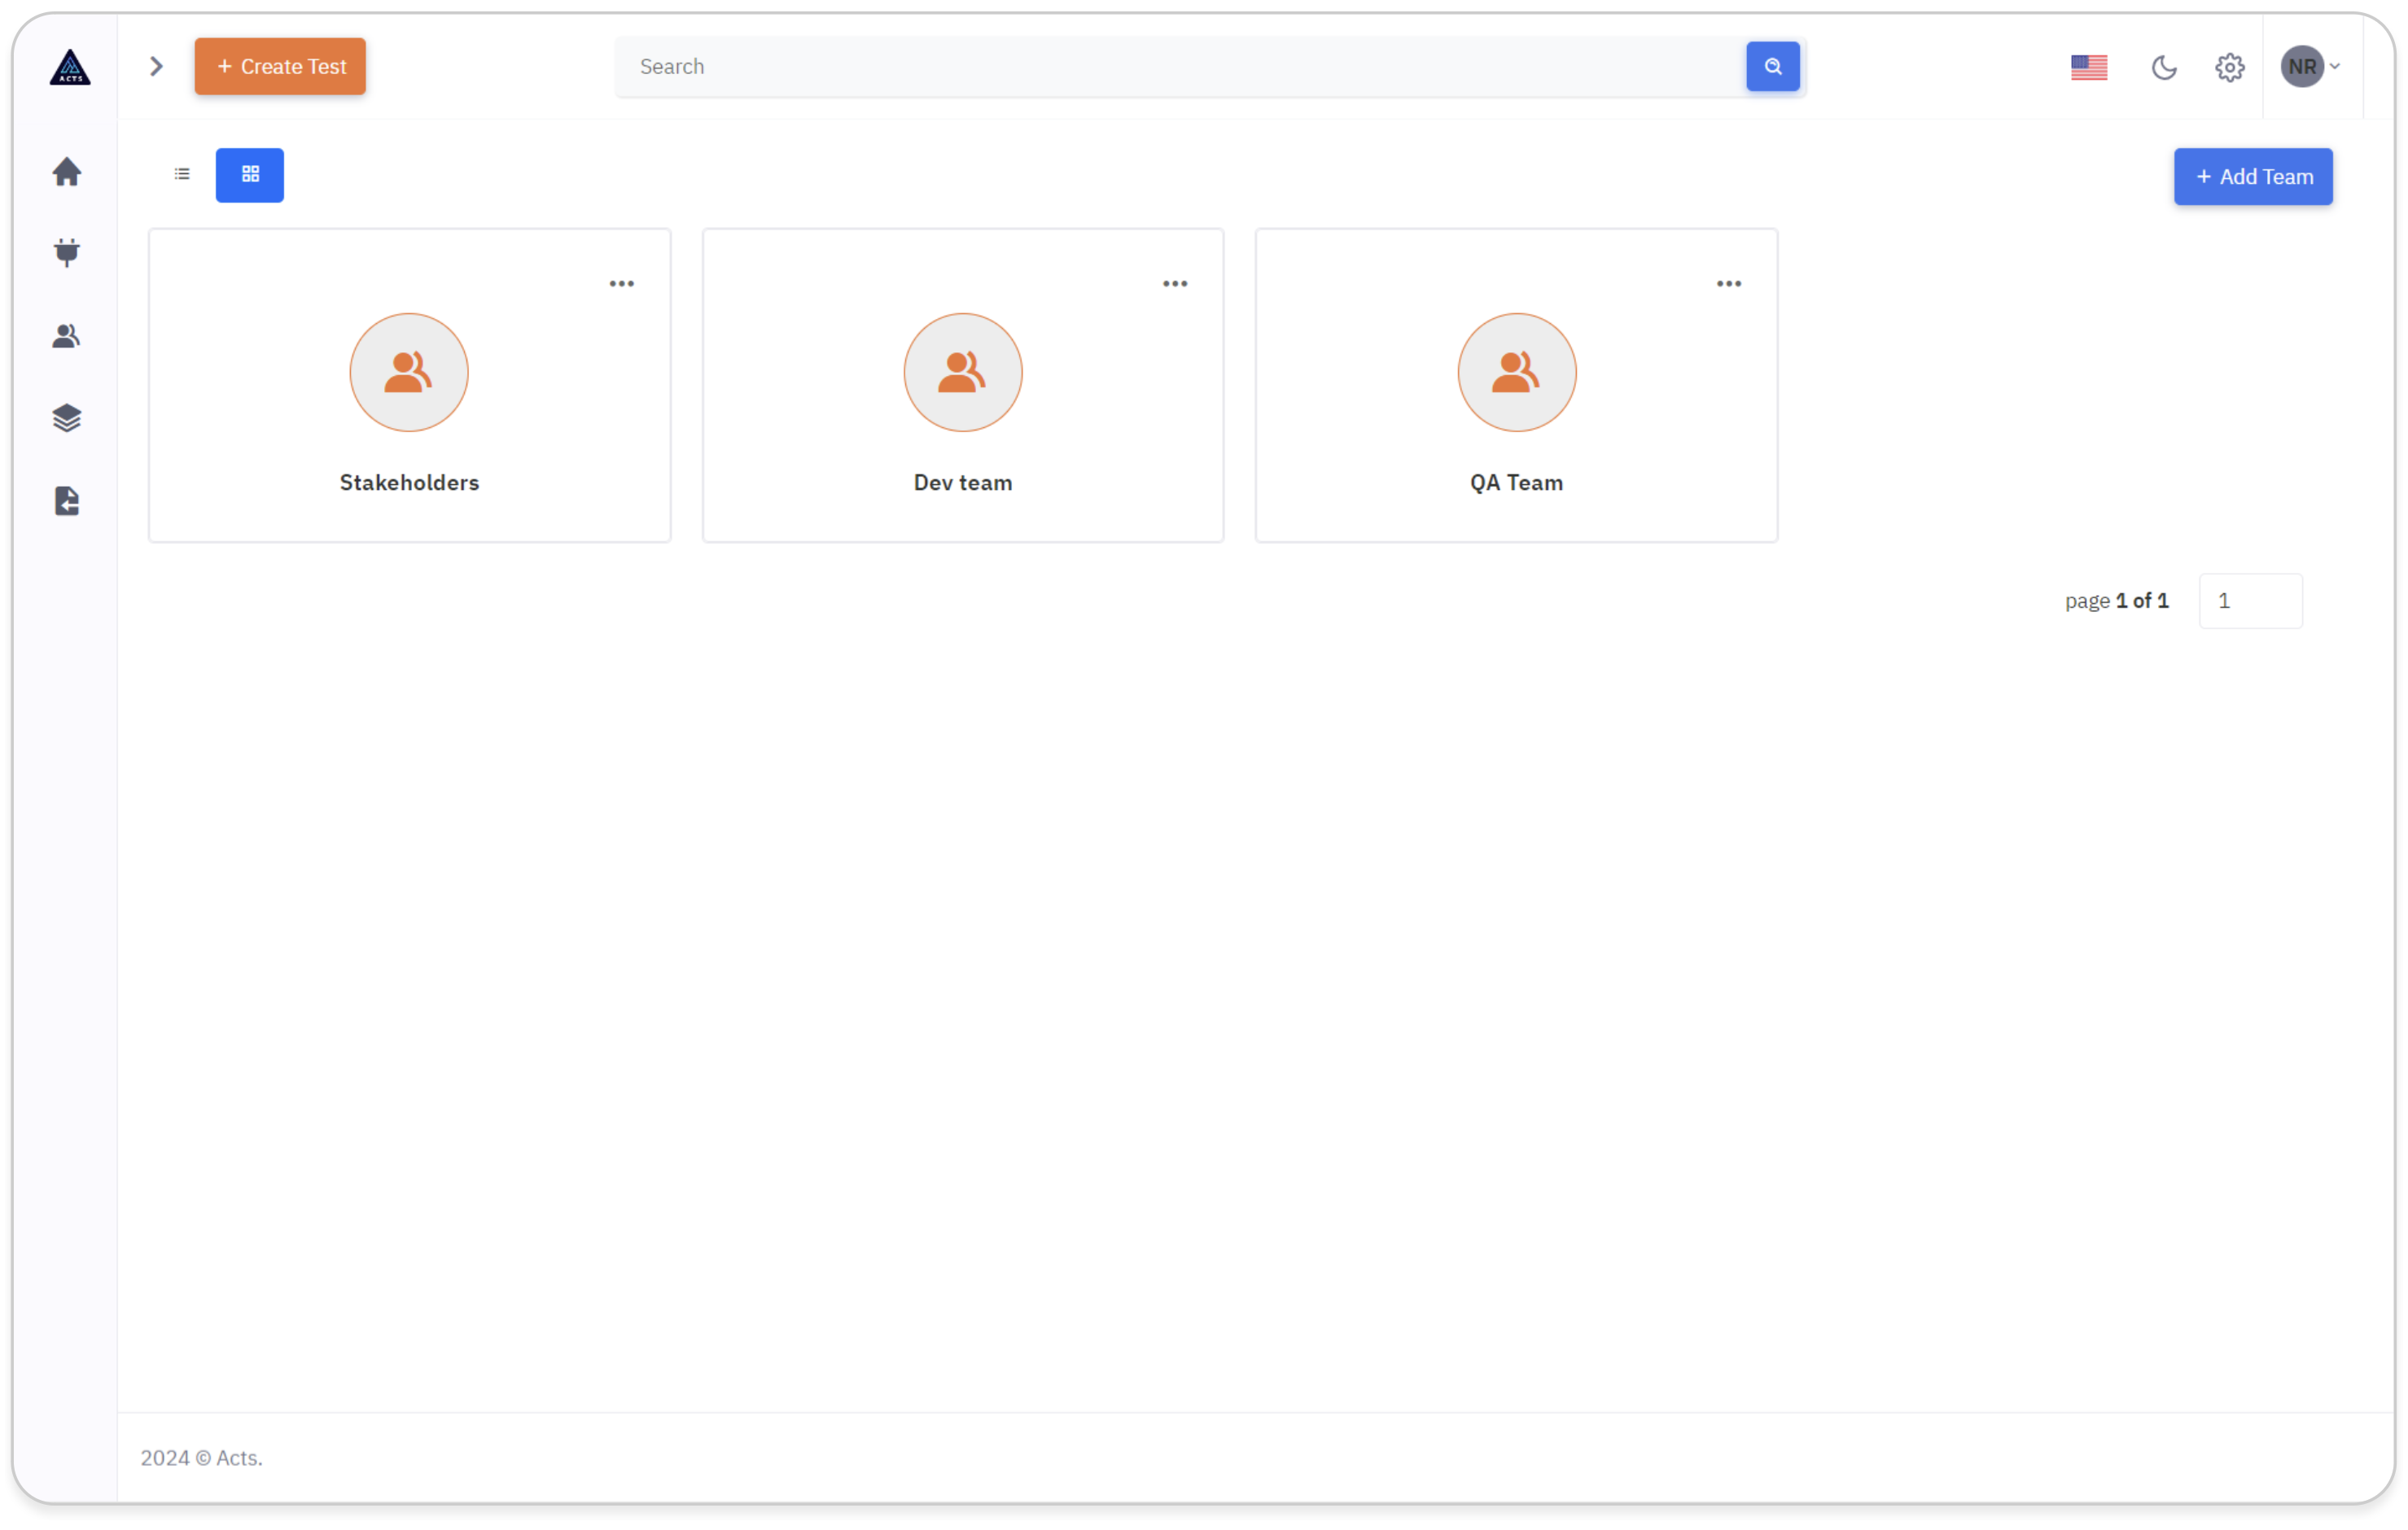
The image depicts the home page of the ACTS Teams module, accessible through the Teams icon in the side navigation bar. Here's a simplified guide to navigating this interface effectively:
Access the Teams module by clicking on its icon in the side navigation bar.
What is Teams
In the grid view of the Teams module, users can view their created Teams in a visually organized layout.
Each team is presented with its unique ID and corresponding Team Name.
Users can easily manage their Teams by utilizing the ellipse icons provided, allowing for seamless editing, deletion, or copying of Teams.
This intuitive interface enhances the management of Teams and promotes efficient integration within the application.
By following these simple steps, users can seamlessly access and navigate the Teams module, whether they prefer a list-based or grid-based visualization of their teams.
Navigation
The Teams icon is conveniently located in the side navigation bar of our application interface.
Users can easily spot the Teams icon represented by an identifiable symbol, typically positioned for quick access and visibility.
View Teams
Upon clicking the Teams icon, users are directed to the Teams module, where they can view and manage their teams effectively.
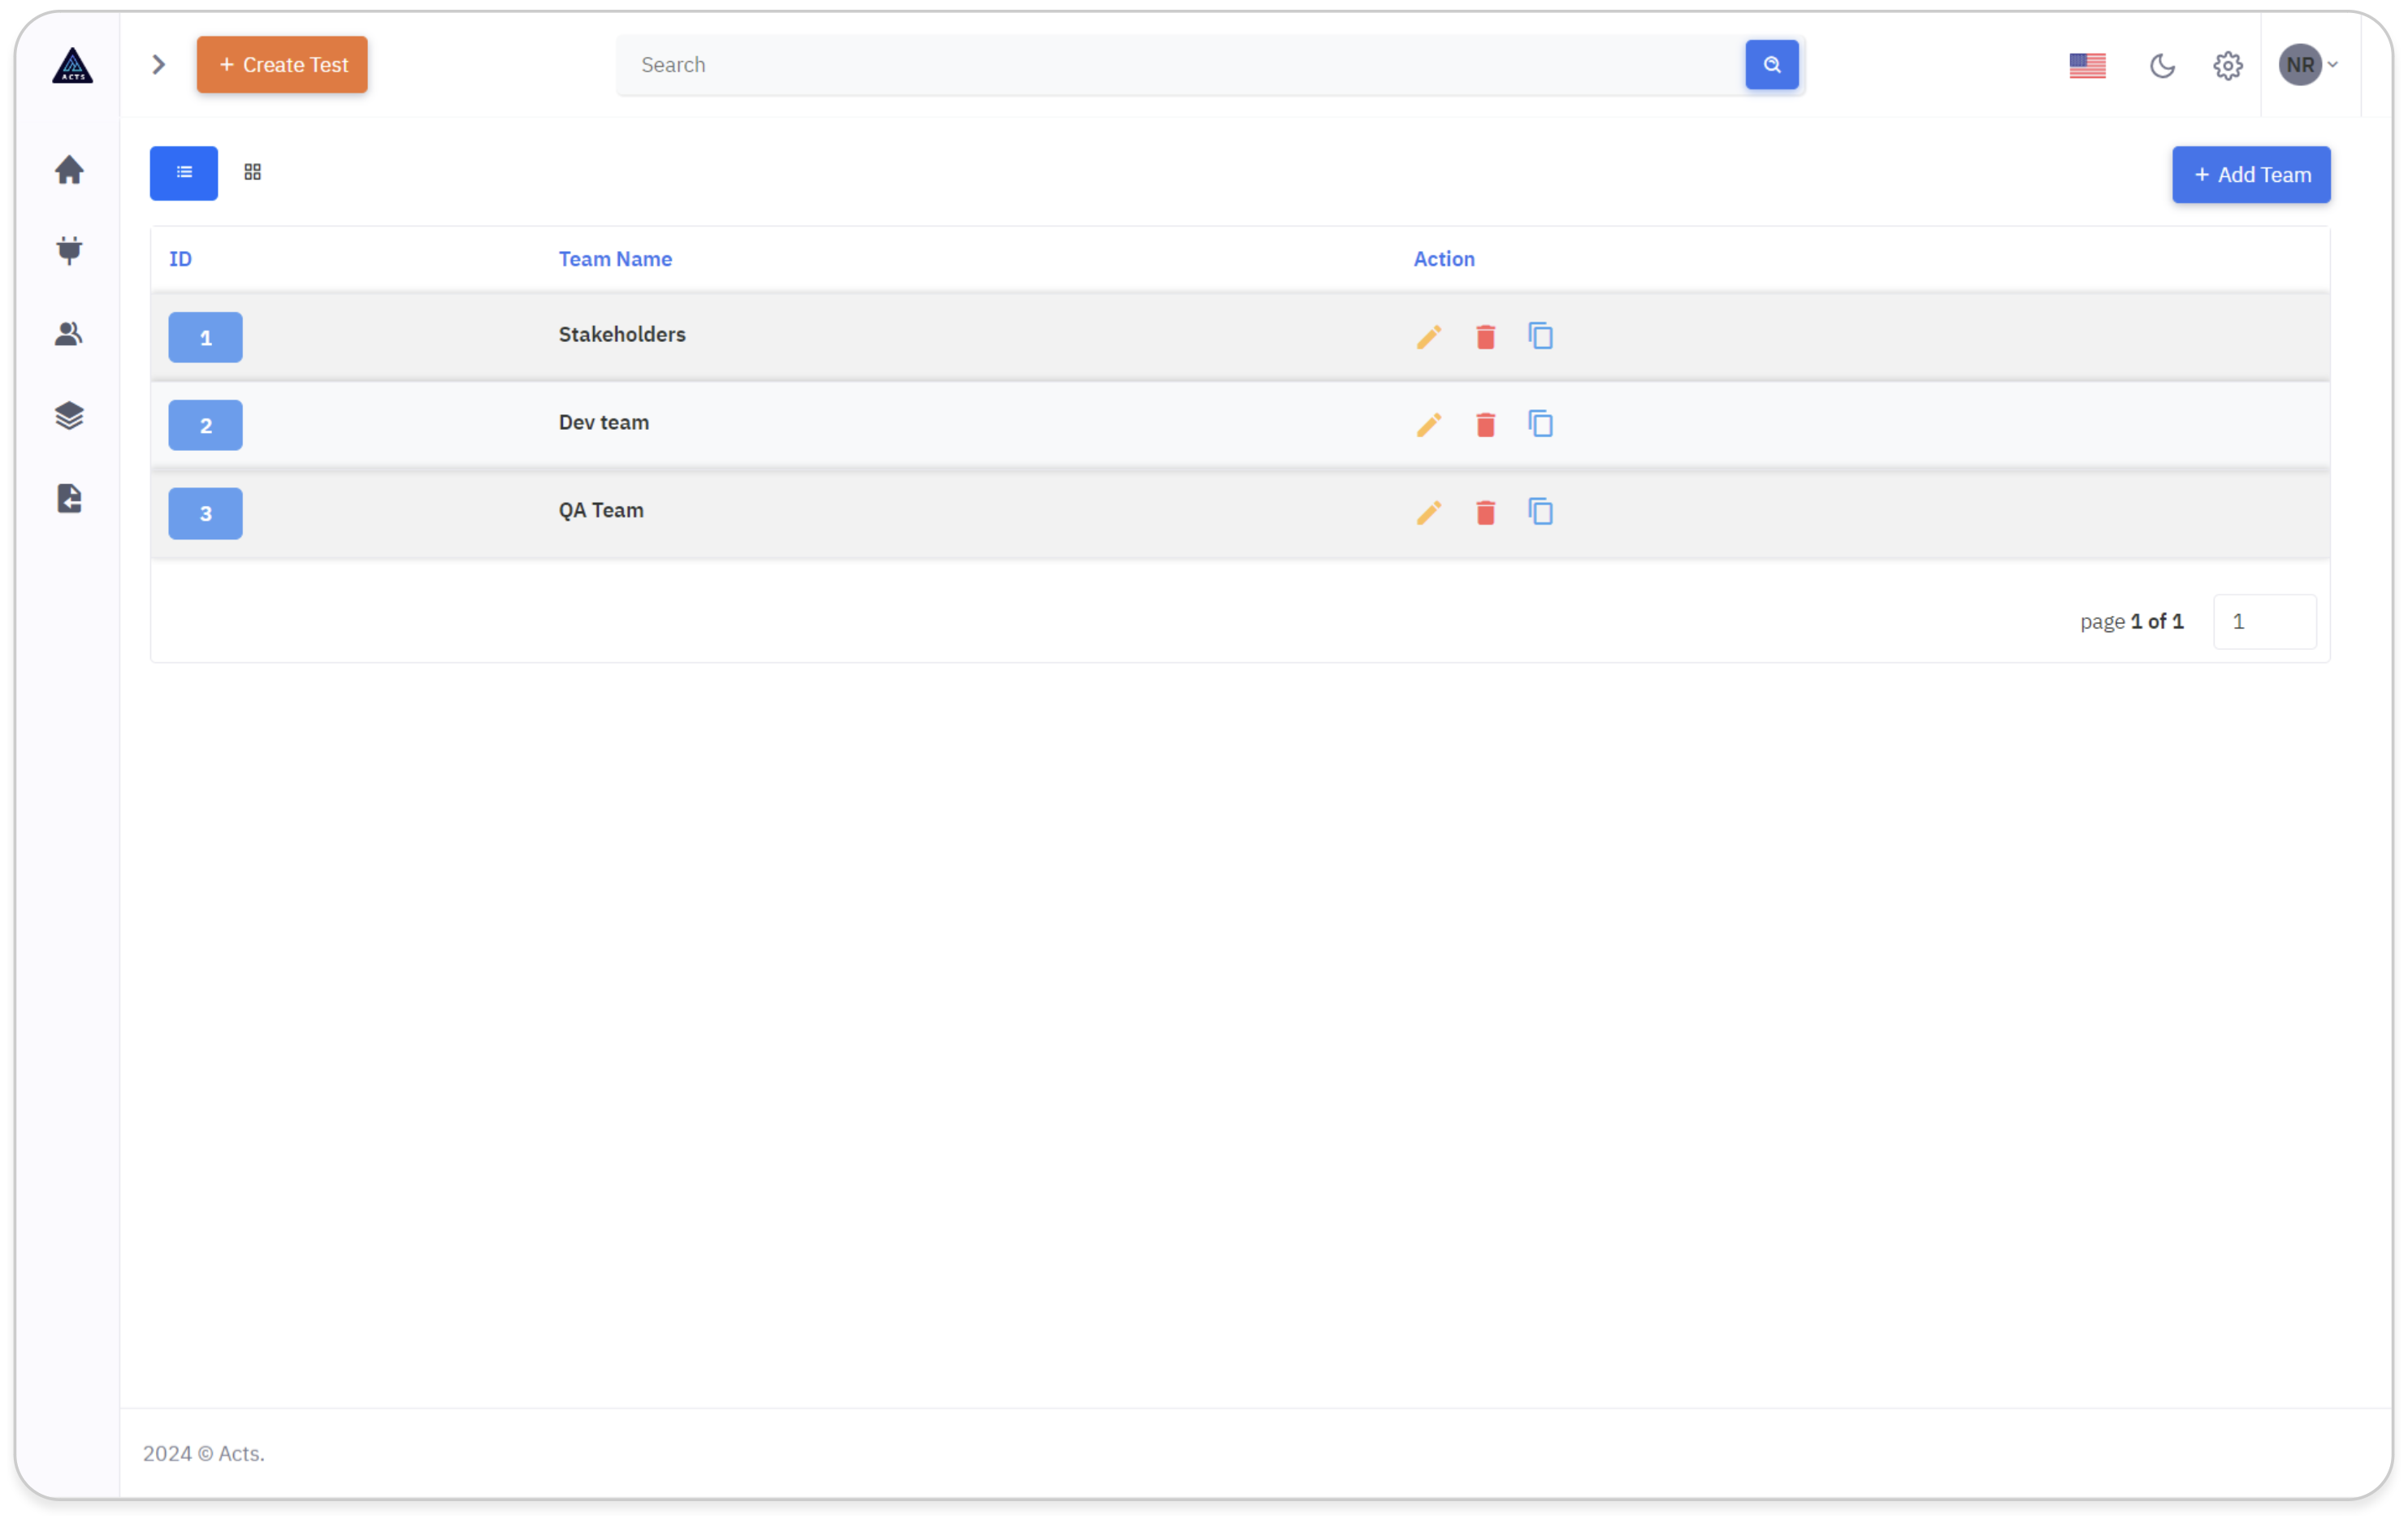
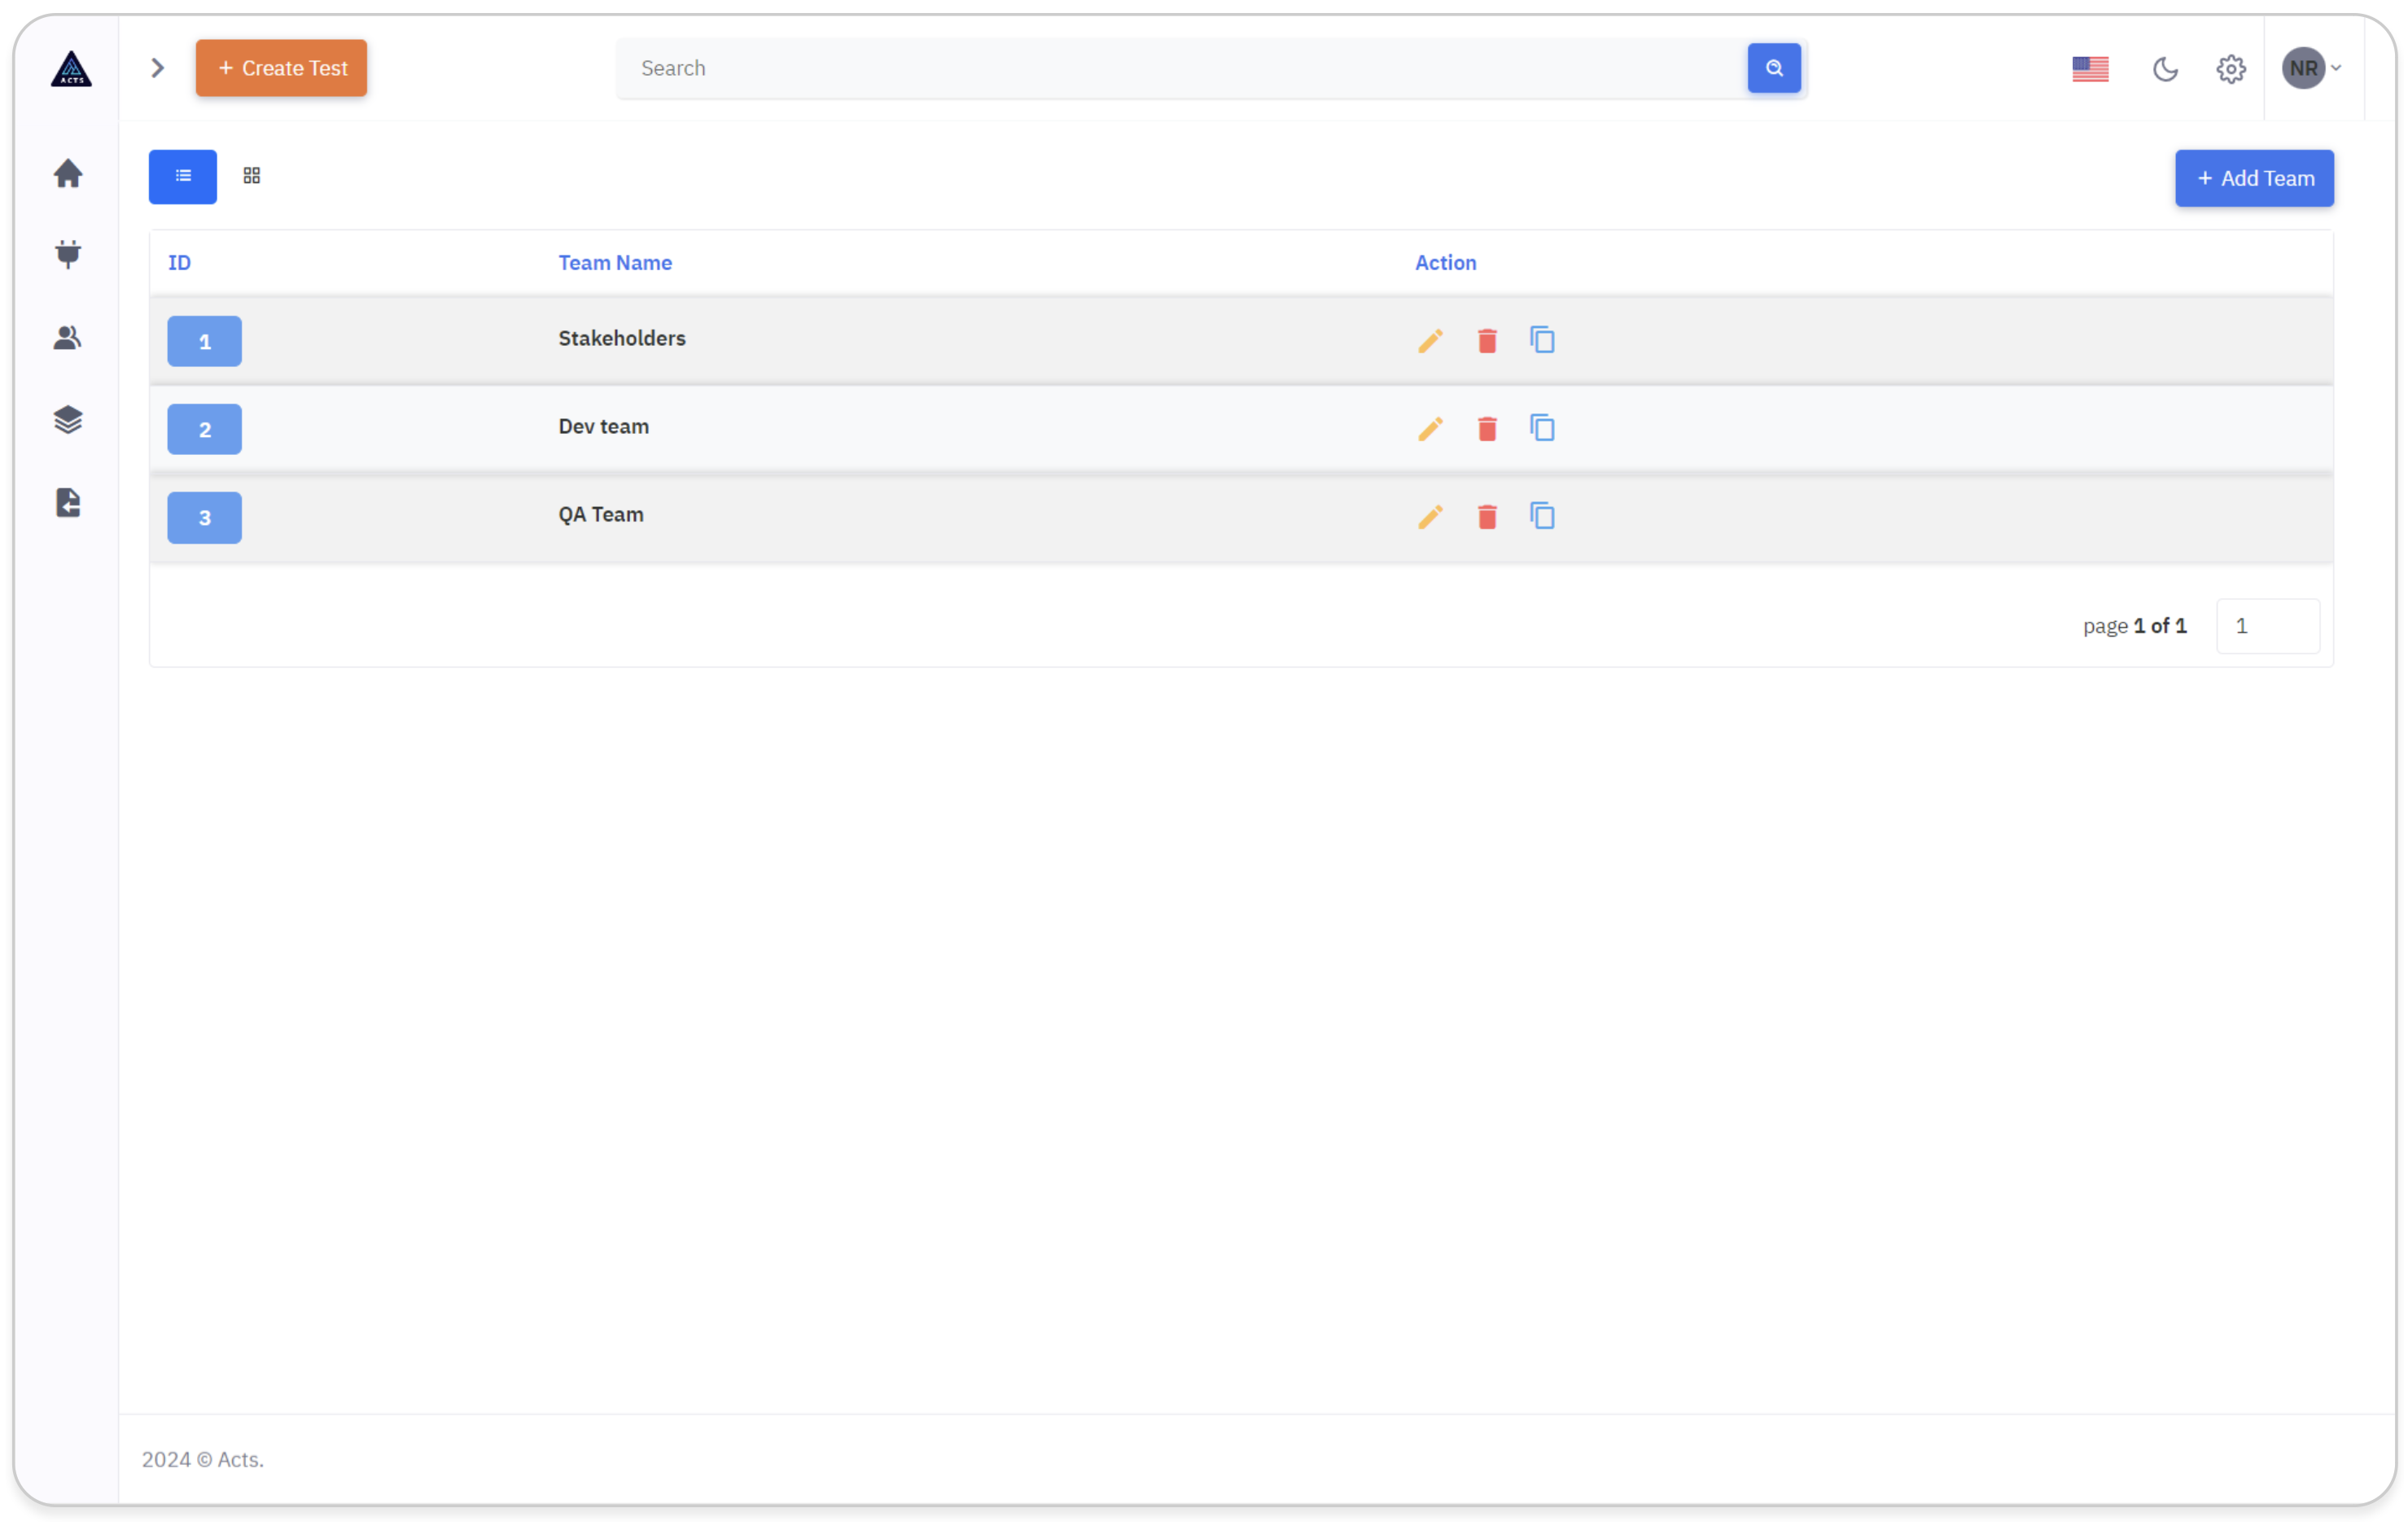
List View
In the list view of the Teams module, users can see their created Teams.
Each team is represented by a unique ID and the Team Name.
Users can perform actions such as editing, deleting, or copying Teams using the respective icons provided.
This streamlined interface simplifies the management of Teams and facilitates efficient integration within our application.
Grid View
In the grid view of the Teams module, users can view their created Teams in a visually organized layout.
Each team is represented by a unique ID and corresponding Team Name.
Users can easily manage their Teams by utilizing the ellipse icons provided, allowing for seamless editing, deletion, or copying of Teams.
This intuitive interface enhances the management of Teams and promotes efficient integration within our application.
By following these simple steps, users can seamlessly access and navigate the Teams module, whether they prefer a list-based or grid-based visualization of their teams.
How to Create Teams
To create new Teams, click on the "Add Team" icon at the top right corner of the page.
A modal will pop out, enabling users to create a new Teams.

To add a new team, follow these steps:
Name:
Enter the name for the new team in the provided field.
All Users:
On the left side of the box, you will find a list of all users who have logged into the application.
Assigned Users:
On the right side of the box, you will find a list of users currently assigned to the team.
Move Users:
Utilize the left and right arrow buttons to move users between "All Users" and "Assigned Users" boxes.
Click the right arrow to assign All Users to the team.
Click the left arrow to remove All Users from the team.
To move a single user, drag and drop them between “All Users” and “Assigned Users”.
Create Team
Click on the "Create Team" button to initiate the creation of a new team.
This streamlined process ensures efficient team creation within the application, enabling users to establish collaborative groups seamlessly.
By following these steps, you can efficiently add users to the new team and manage team membership effectively within the application.
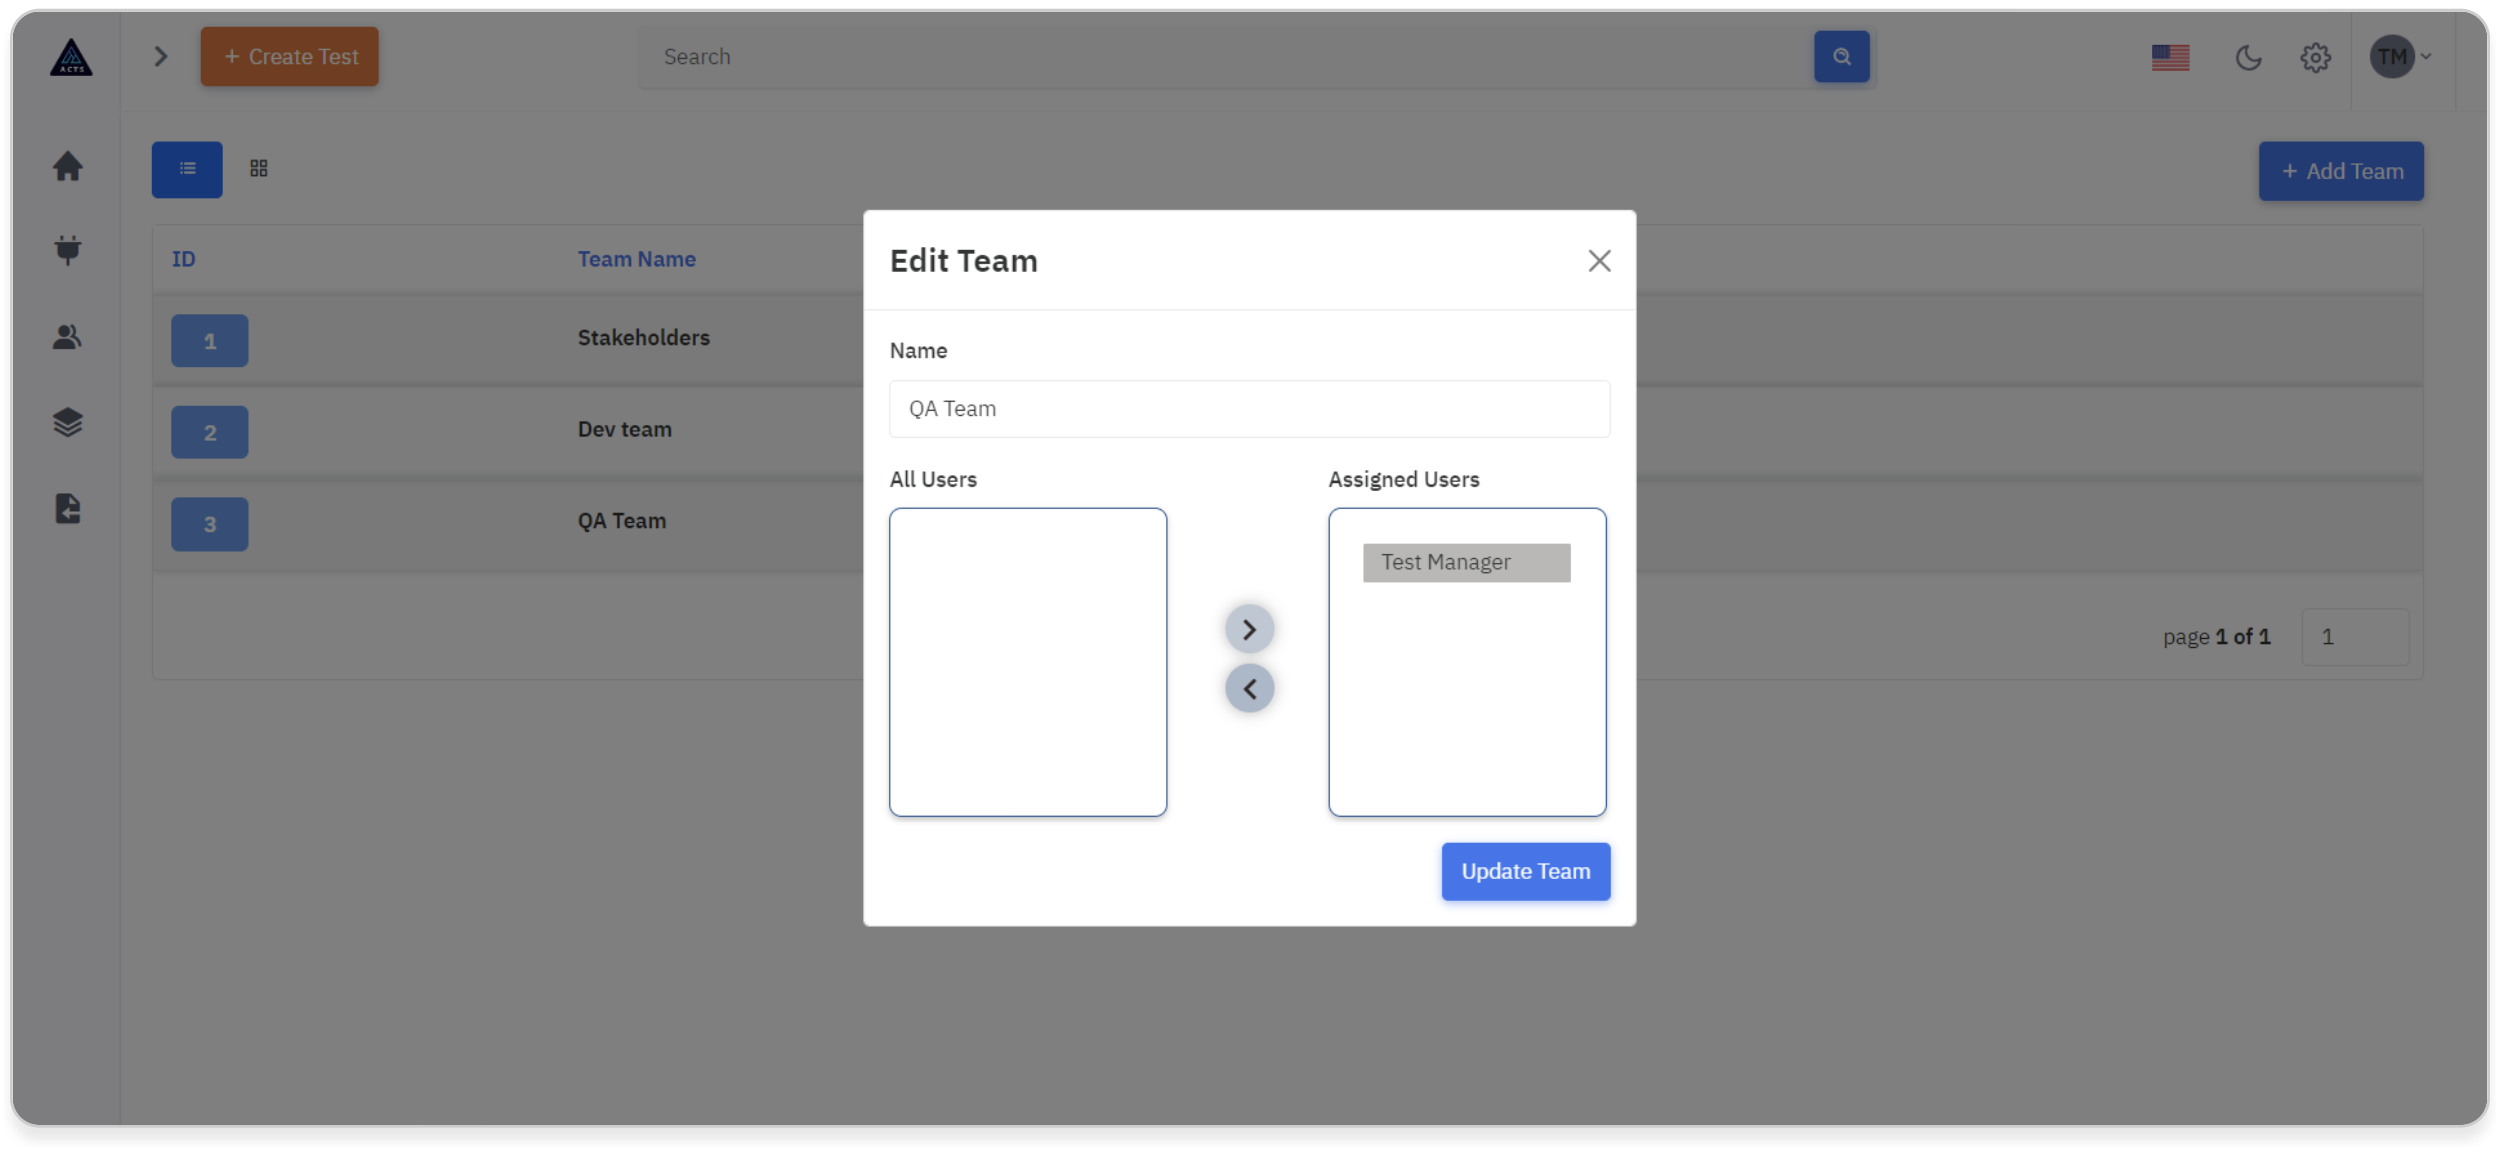
Update Teams
When editing a team, a modal will appear displaying all existing data, with fields pre-filled for easy reference and modification.
Users will have the ability to add or remove team members as needed directly within the modal interface.
Once adjustments have been made, users can click on the "Update Team" button to save the changes and update the team information accordingly.