Schedulers
Schedulers within the Calendar View provides a comprehensive solution for organizing and managing tasks and events efficiently. This detailed guide empowers users with a step-by-step walkthrough of the scheduler's functionalities, ensuring a seamless experience in creating, editing, and deleting schedules.
Homepage
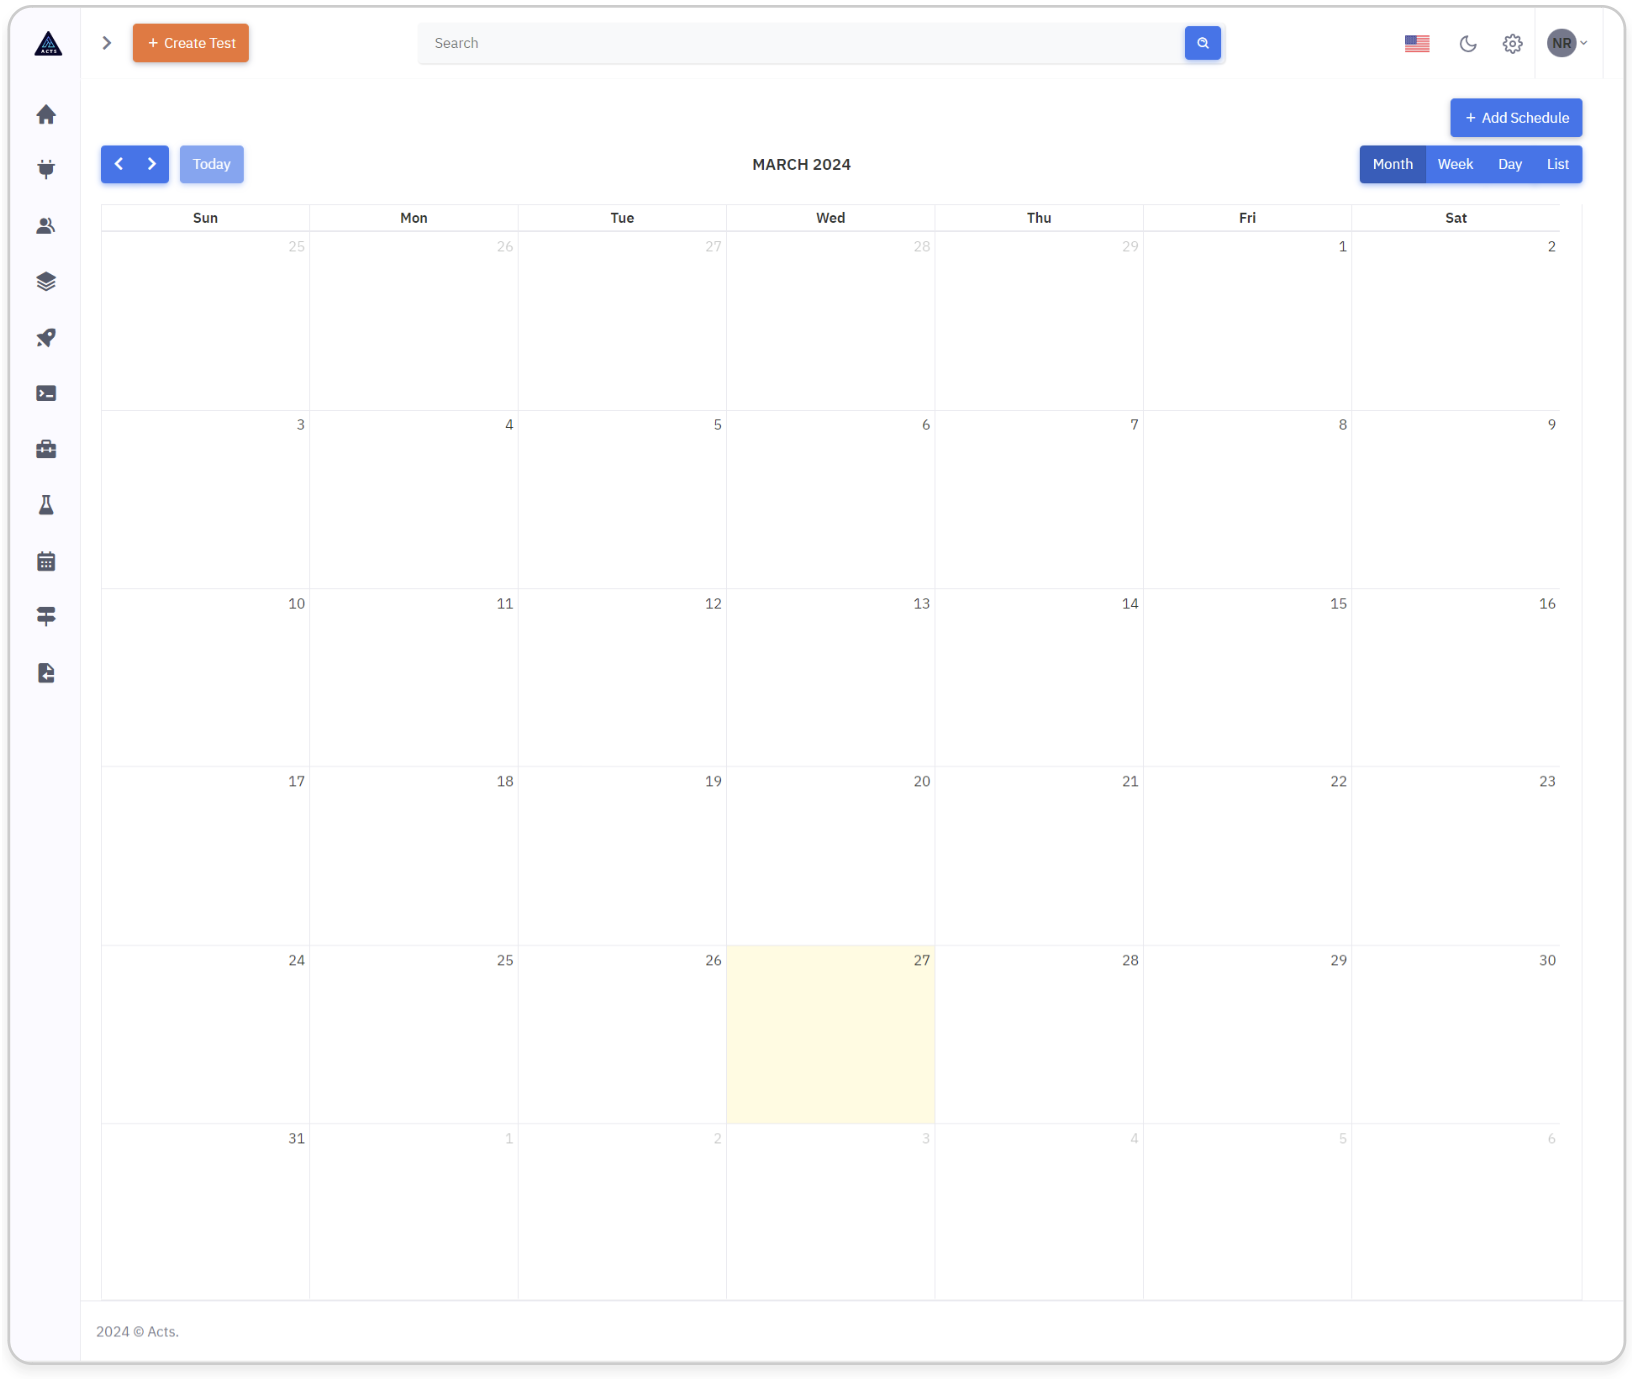
The Schedulers Home Page offers users a centralized platform to manage and organize scheduled tasks across various timeframes. With intuitive navigation options such as Month, Week, Day, and List views, users can easily toggle between different perspectives to effectively plan and oversee their schedules.
Schedulers UI
Navigation
The Schedulers icon is situated on the left navigation bar. This icon acts as the entry point for accessing the Schedulers module's home page.
Selecting the Schedulers icon will effortlessly guide users to the designated home page interface, facilitating intuitive navigation and streamlined access to scheduler management.
Upon accessing the home page, users will encounter a comprehensive display showcasing the schedules they have created.
View Options
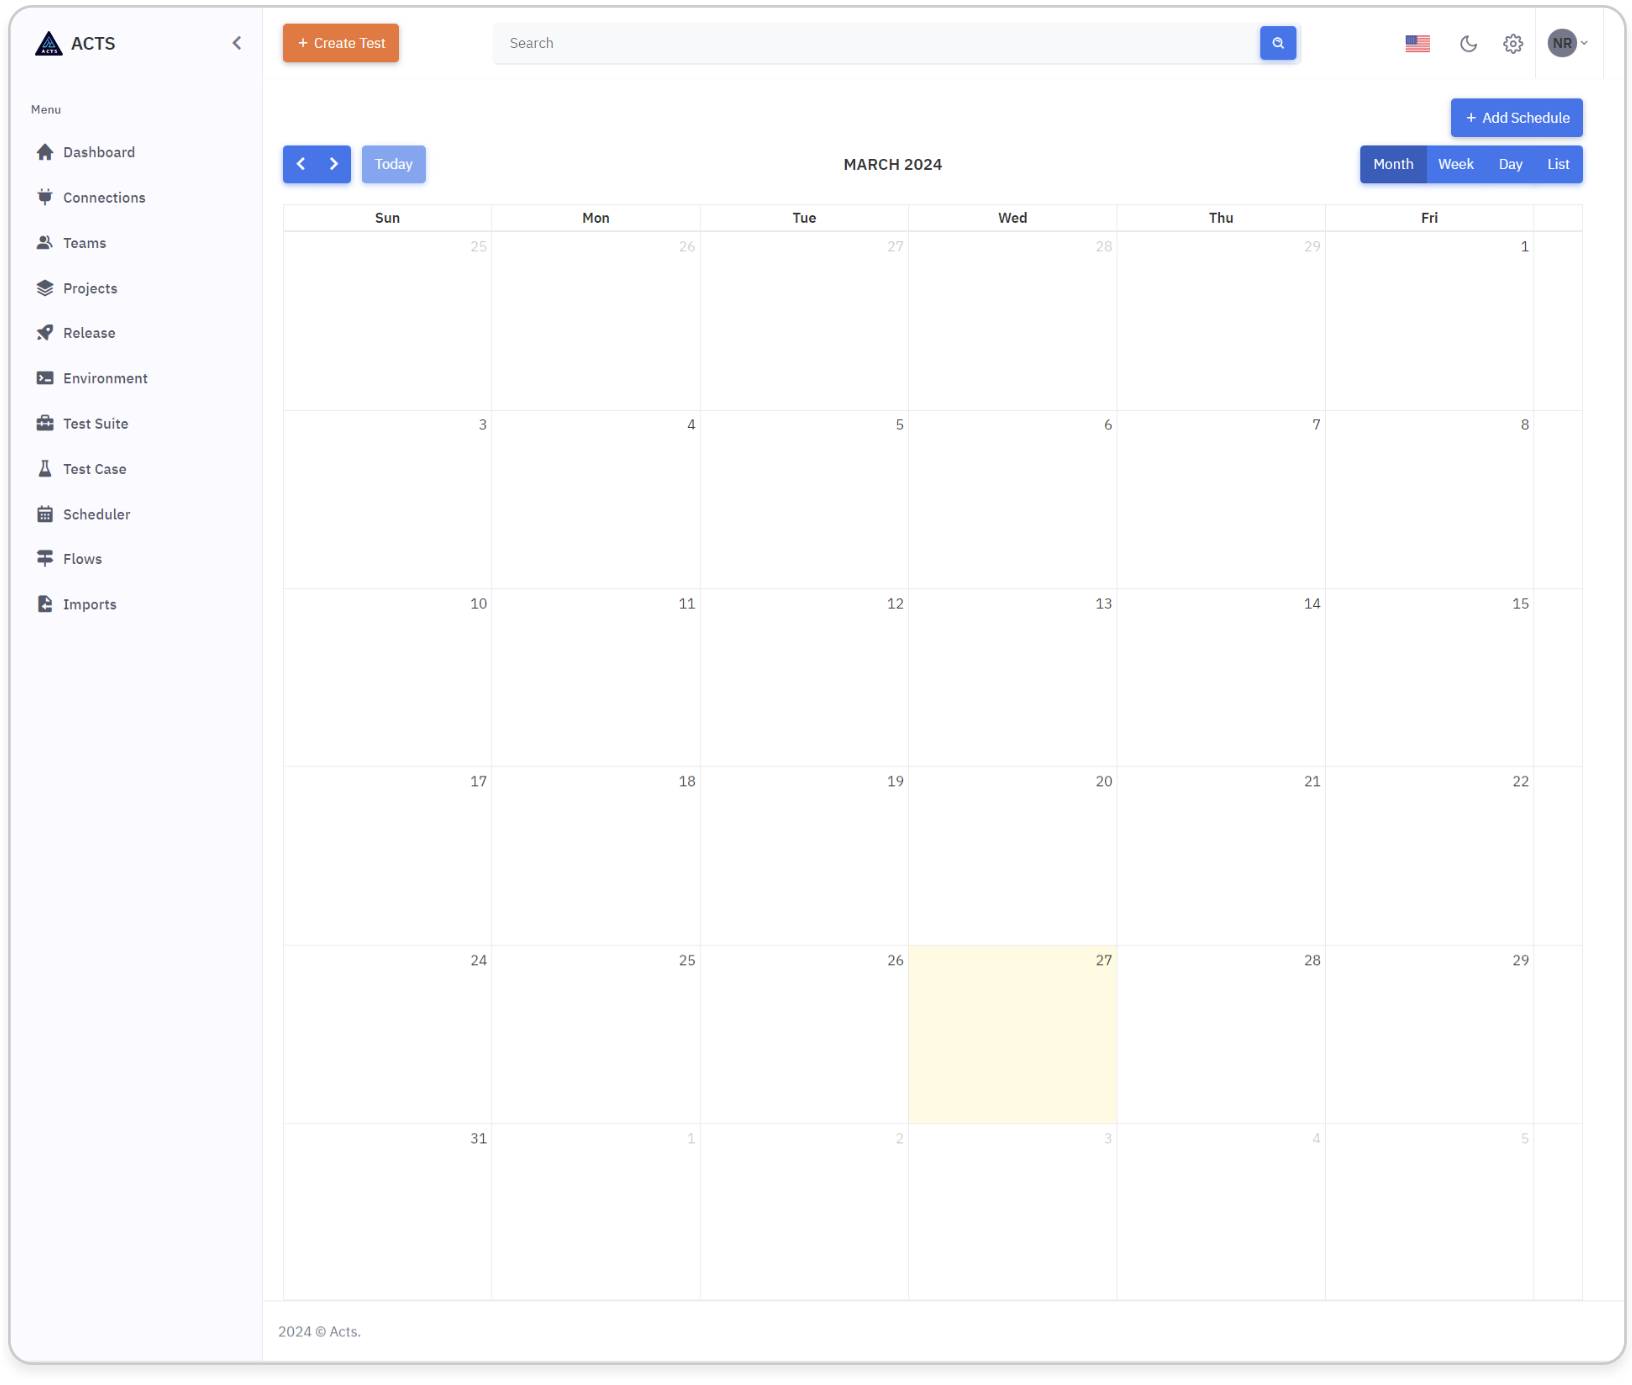
In the top right corner of the Schedulers Home Page, users are presented with four distinct viewing options: Month, Day, Week, and List.
These options allow users to seamlessly switch between different timeframes and perspectives, providing flexibility and convenience in managing their schedules.
Whether users prefer a monthly overview, daily breakdown, weekly agenda, or list format, these viewing options cater to diverse scheduling preferences, enhancing user experience and productivity.
Scheduler Views
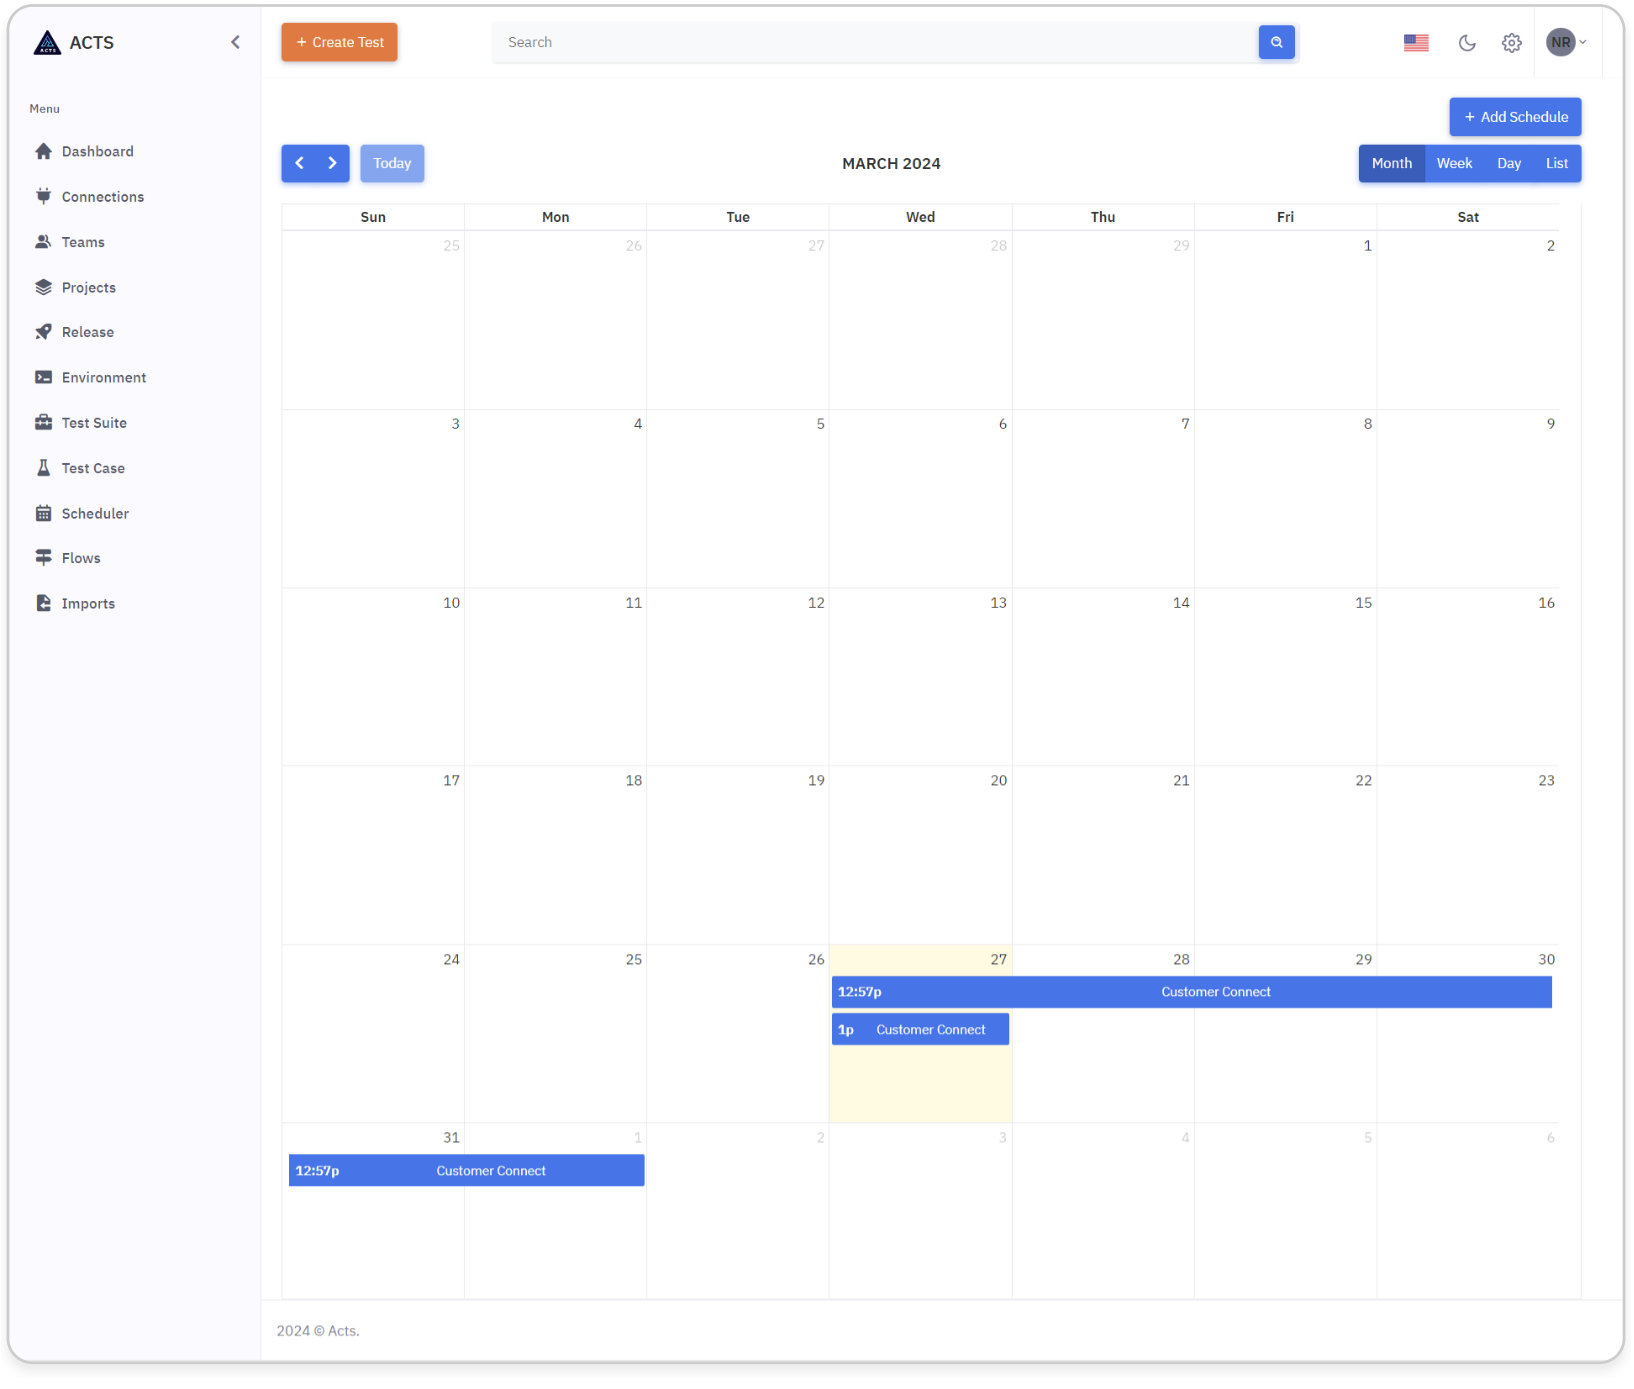
Month View
Offers a comprehensive overview of scheduled tasks for the entire month. Users can easily identify dates and associated names at a glance, facilitating high-level planning and scheduling.
Day View
Provides a detailed breakdown of tasks scheduled for a specific day. Users can focus on the day's agenda with precision, accessing dates and corresponding names for effective time management.
Week View
Presents a condensed yet comprehensive view of tasks scheduled for the week. Users can efficiently navigate through the week's schedule, accessing dates and associated names for streamlined planning.
List View
Offers a structured list format displaying scheduled tasks. Users can quickly scan through the list, viewing dates and names sequentially for efficient organization and prioritization of tasks.
Detailed Scheduler View
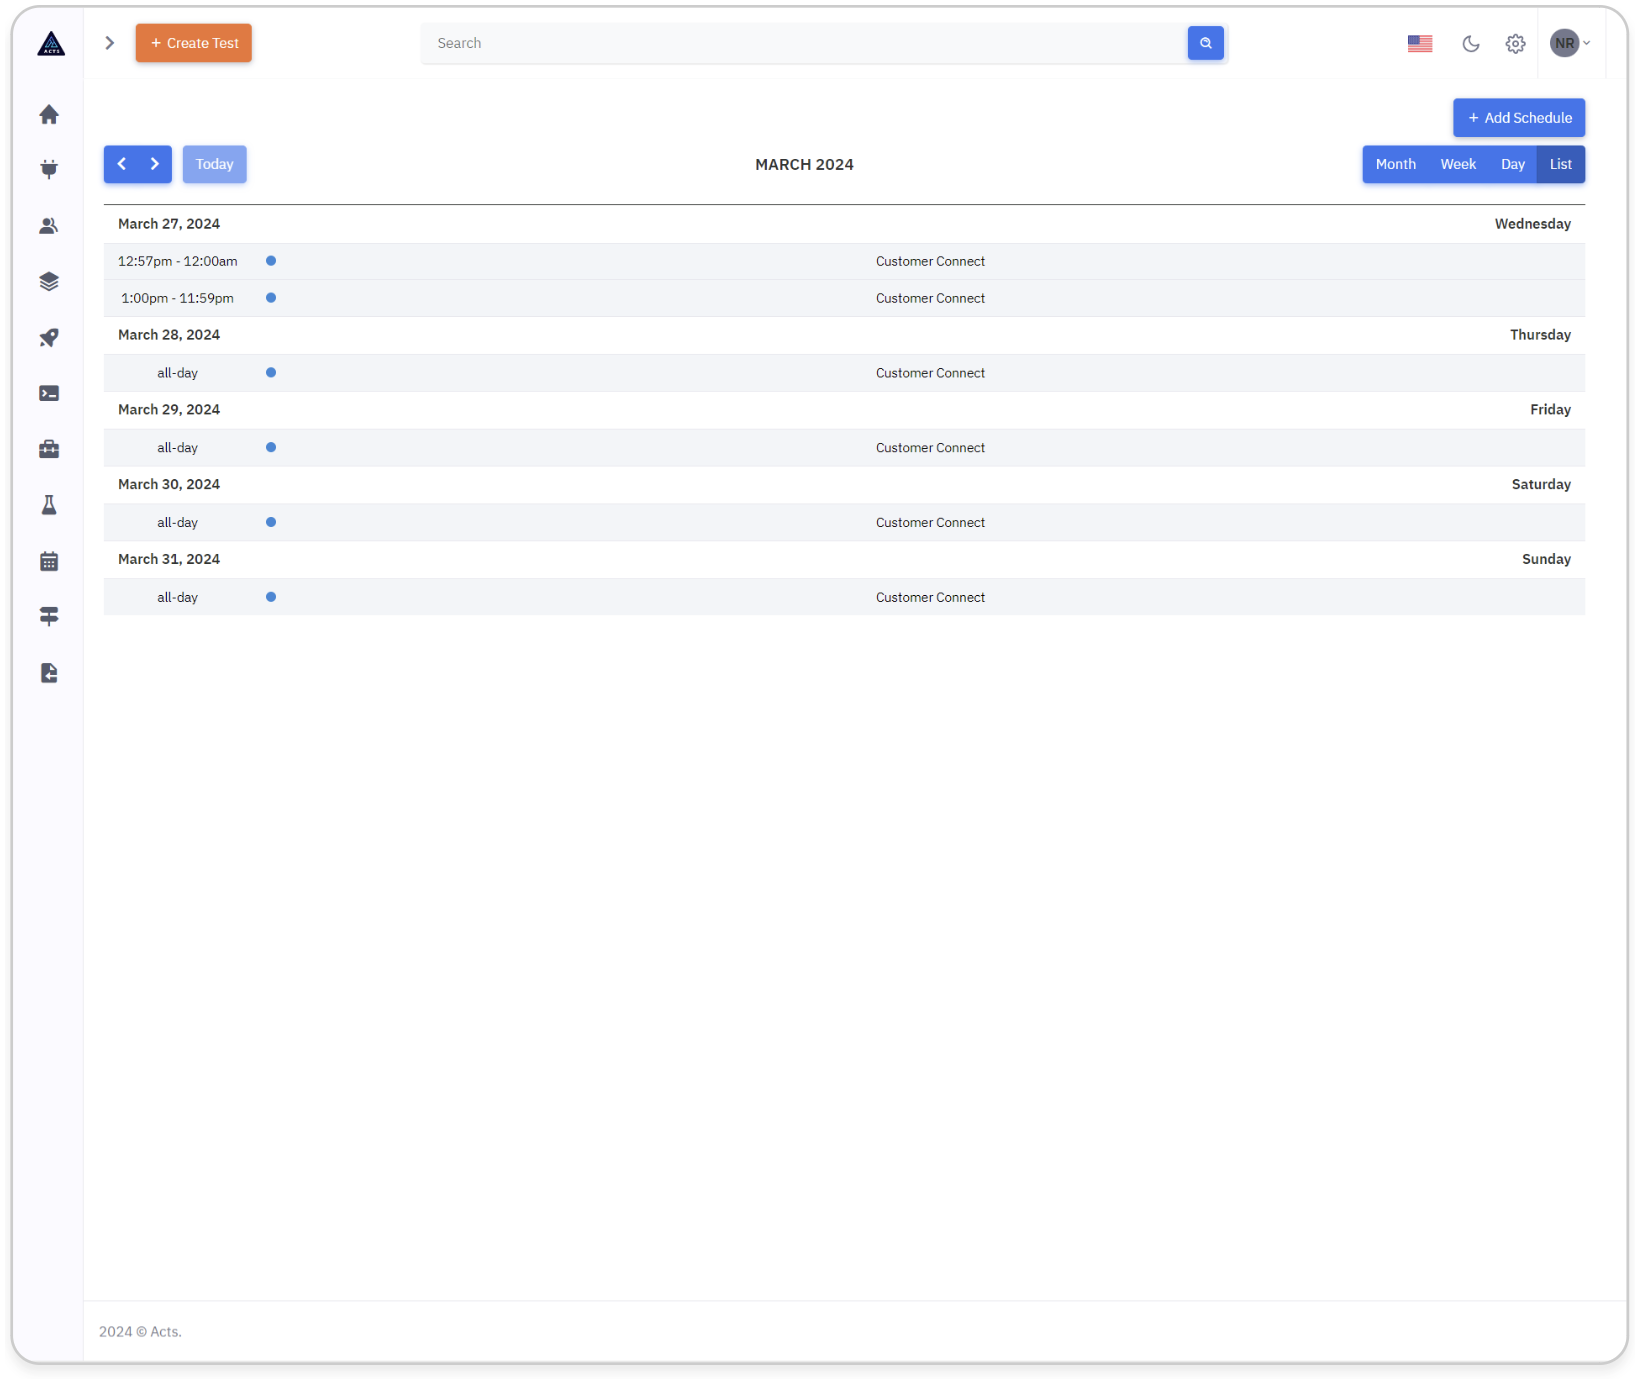
In the List Views section, users can access detailed scheduling information, including timing, month, and day names.
This comprehensive display allows users to efficiently manage their schedules with precise insights into timing and date-related details.
The list format ensures clarity and organization, enabling users to prioritize tasks effectively and stay on top of their schedules.
Create a Schedule
Users can initiate the creation of a new scheduler by clicking on the "Add Schedulers" button, prominently positioned for accessibility.
Upon triggering this button, a modal window will elegantly unfold, presenting users with a wizard specifically designed for scheduling tasks.
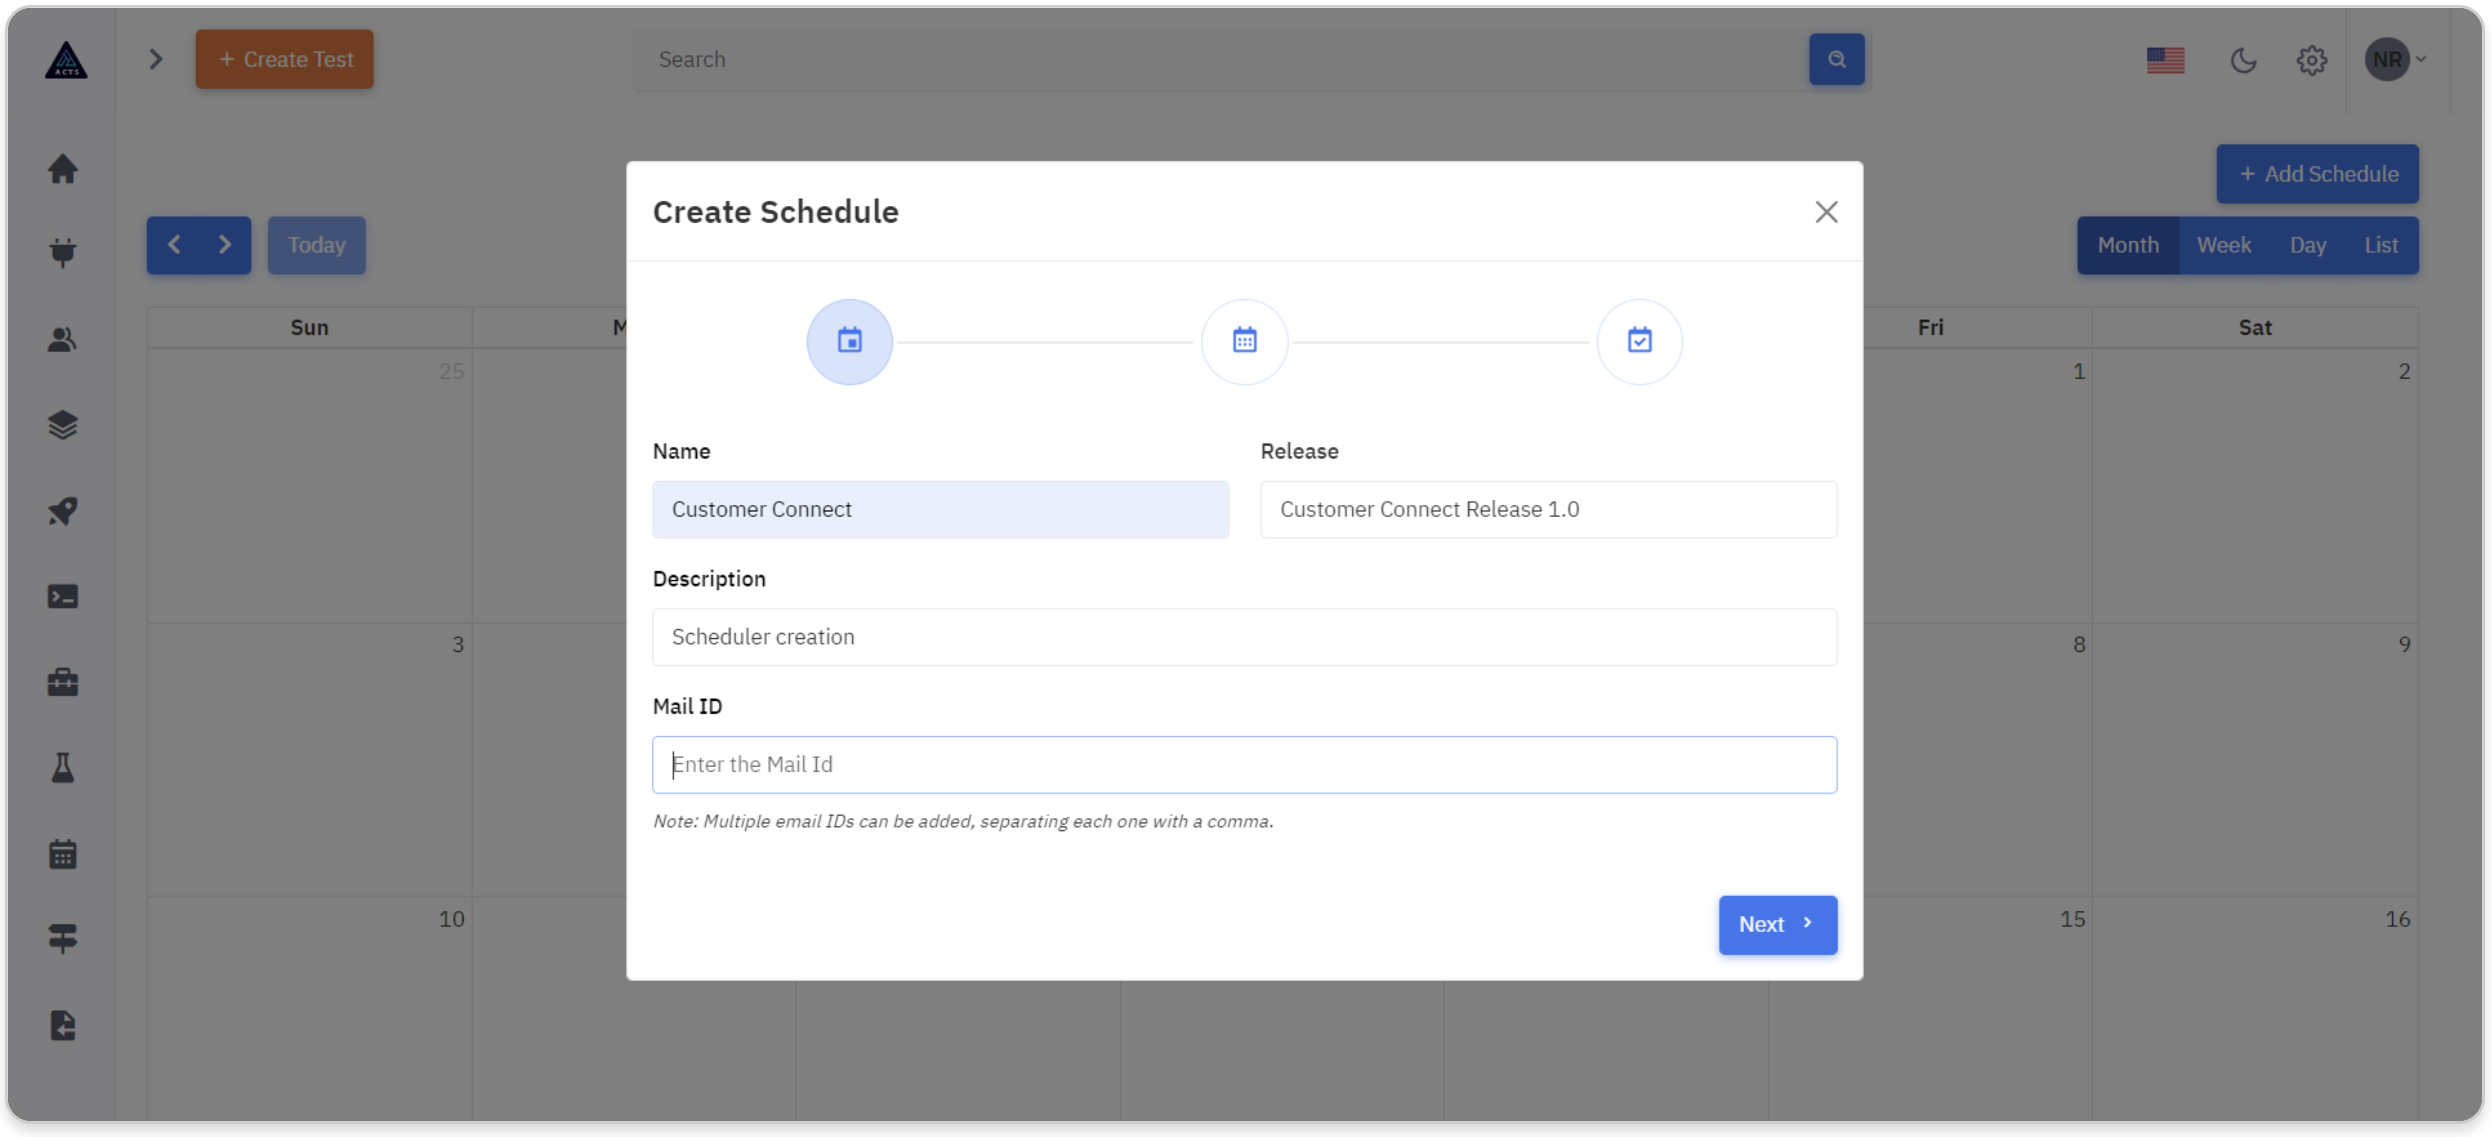
Name
Enter a name or a title that encapsulates the nature or purpose of the scheduler.
Release
Automatically populated based on the user's current release.
Description
Provide a detailed description of the scheduler, outlining its objectives, scope, or any other information.
Mail Id's
Users have the option to input multiple email IDs, separated by commas, to notify relevant parties about the scheduled task.
The "Next" button remains inactive until all the required fields are filled. This ensures that users provide complete information before proceeding to the next step.
Select the Item Type
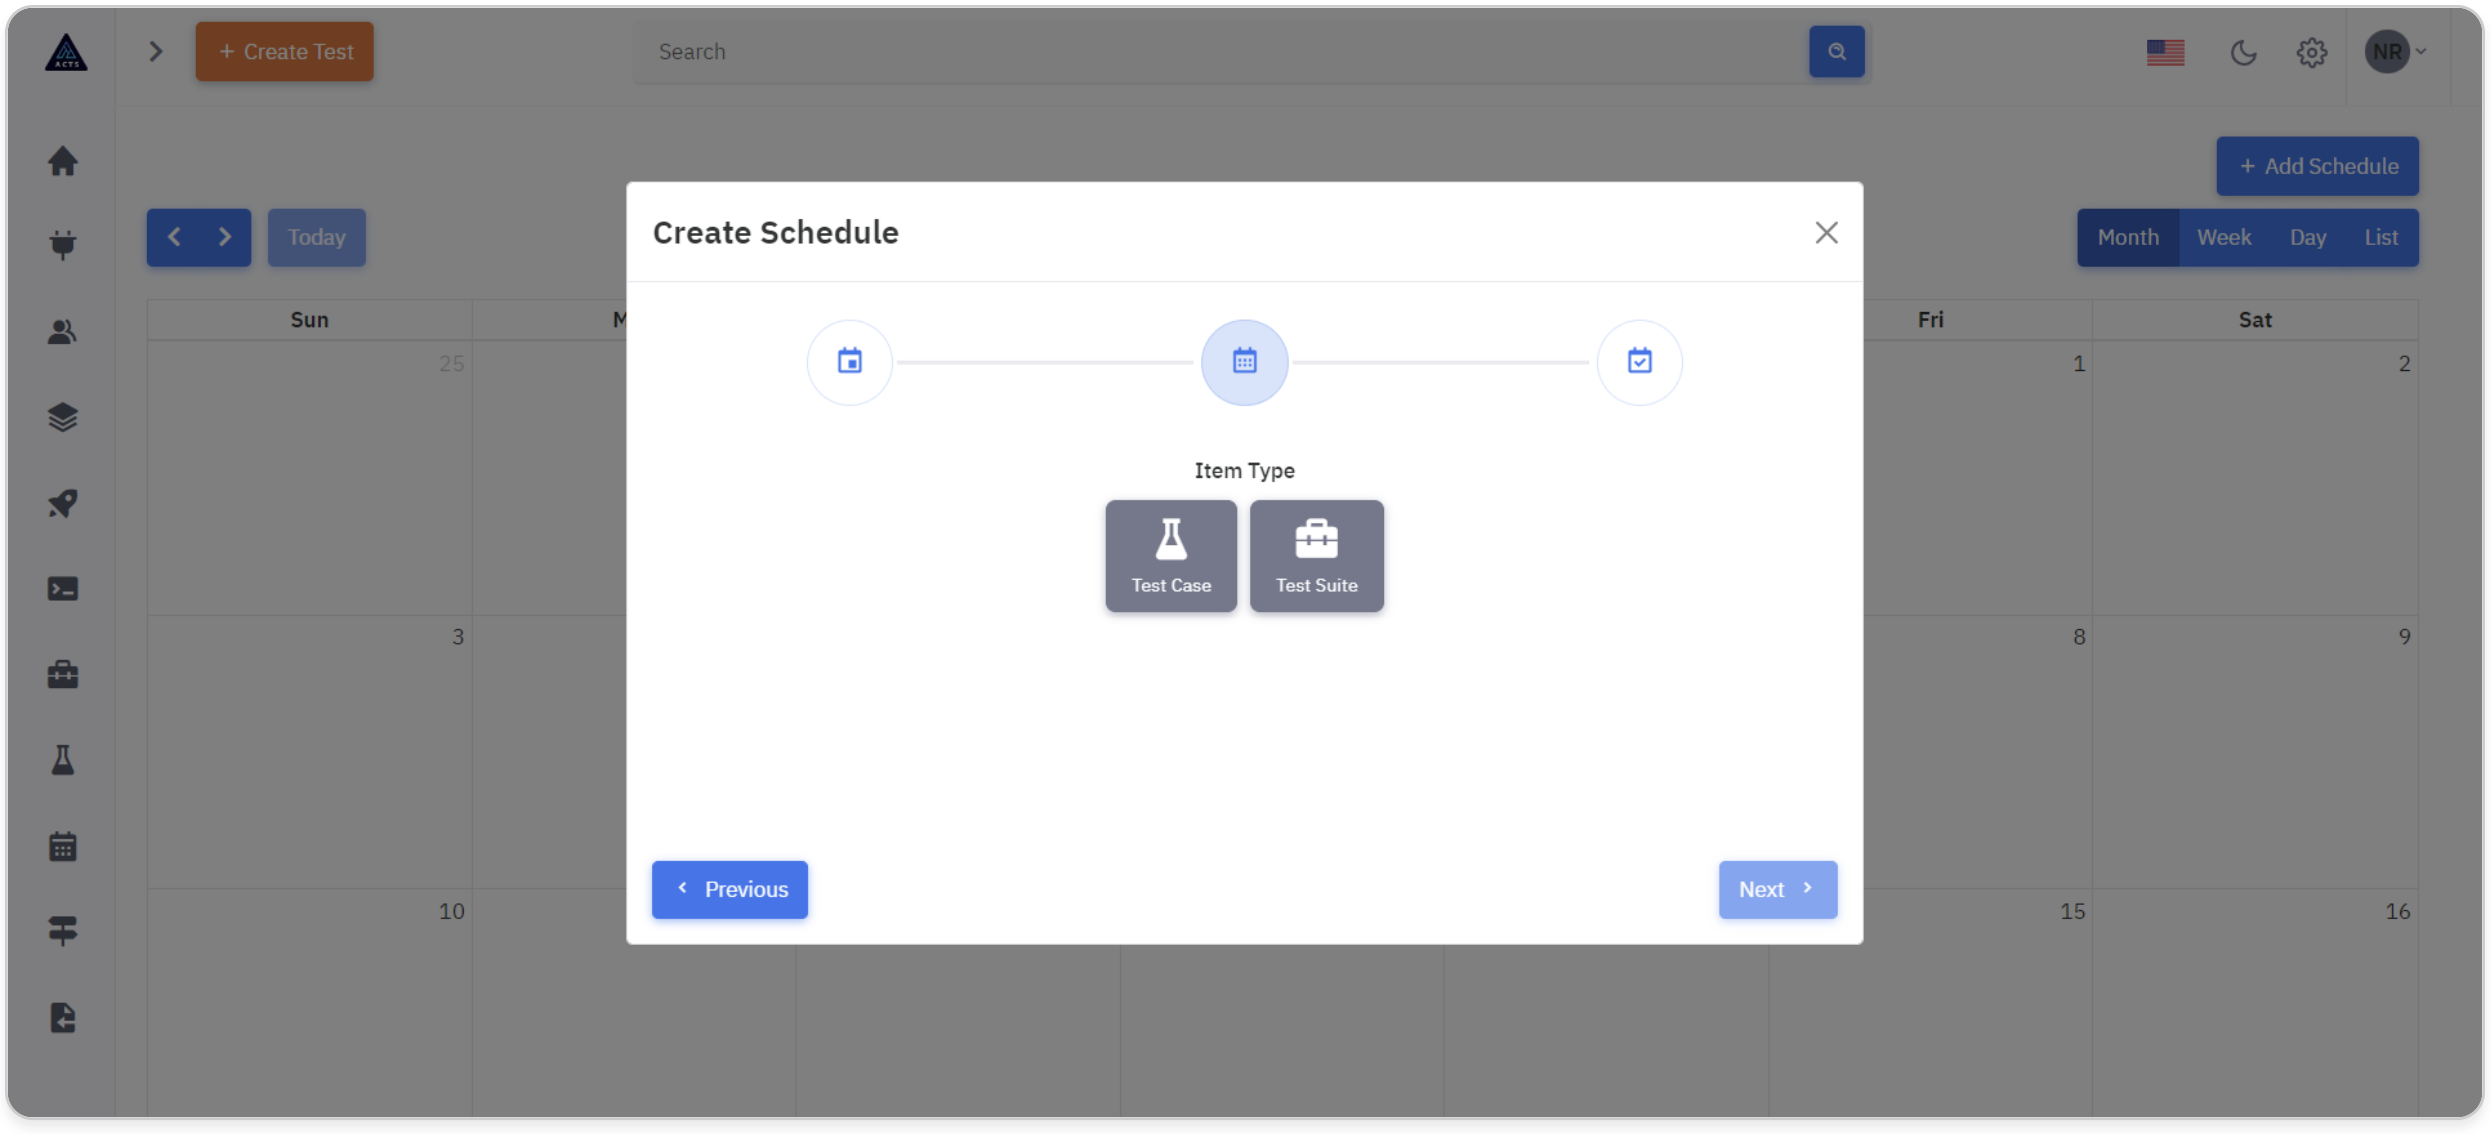
In this step, users specify the type of items the scheduler will include, choosing between TestCases and TestSuites.
Select a Test Case
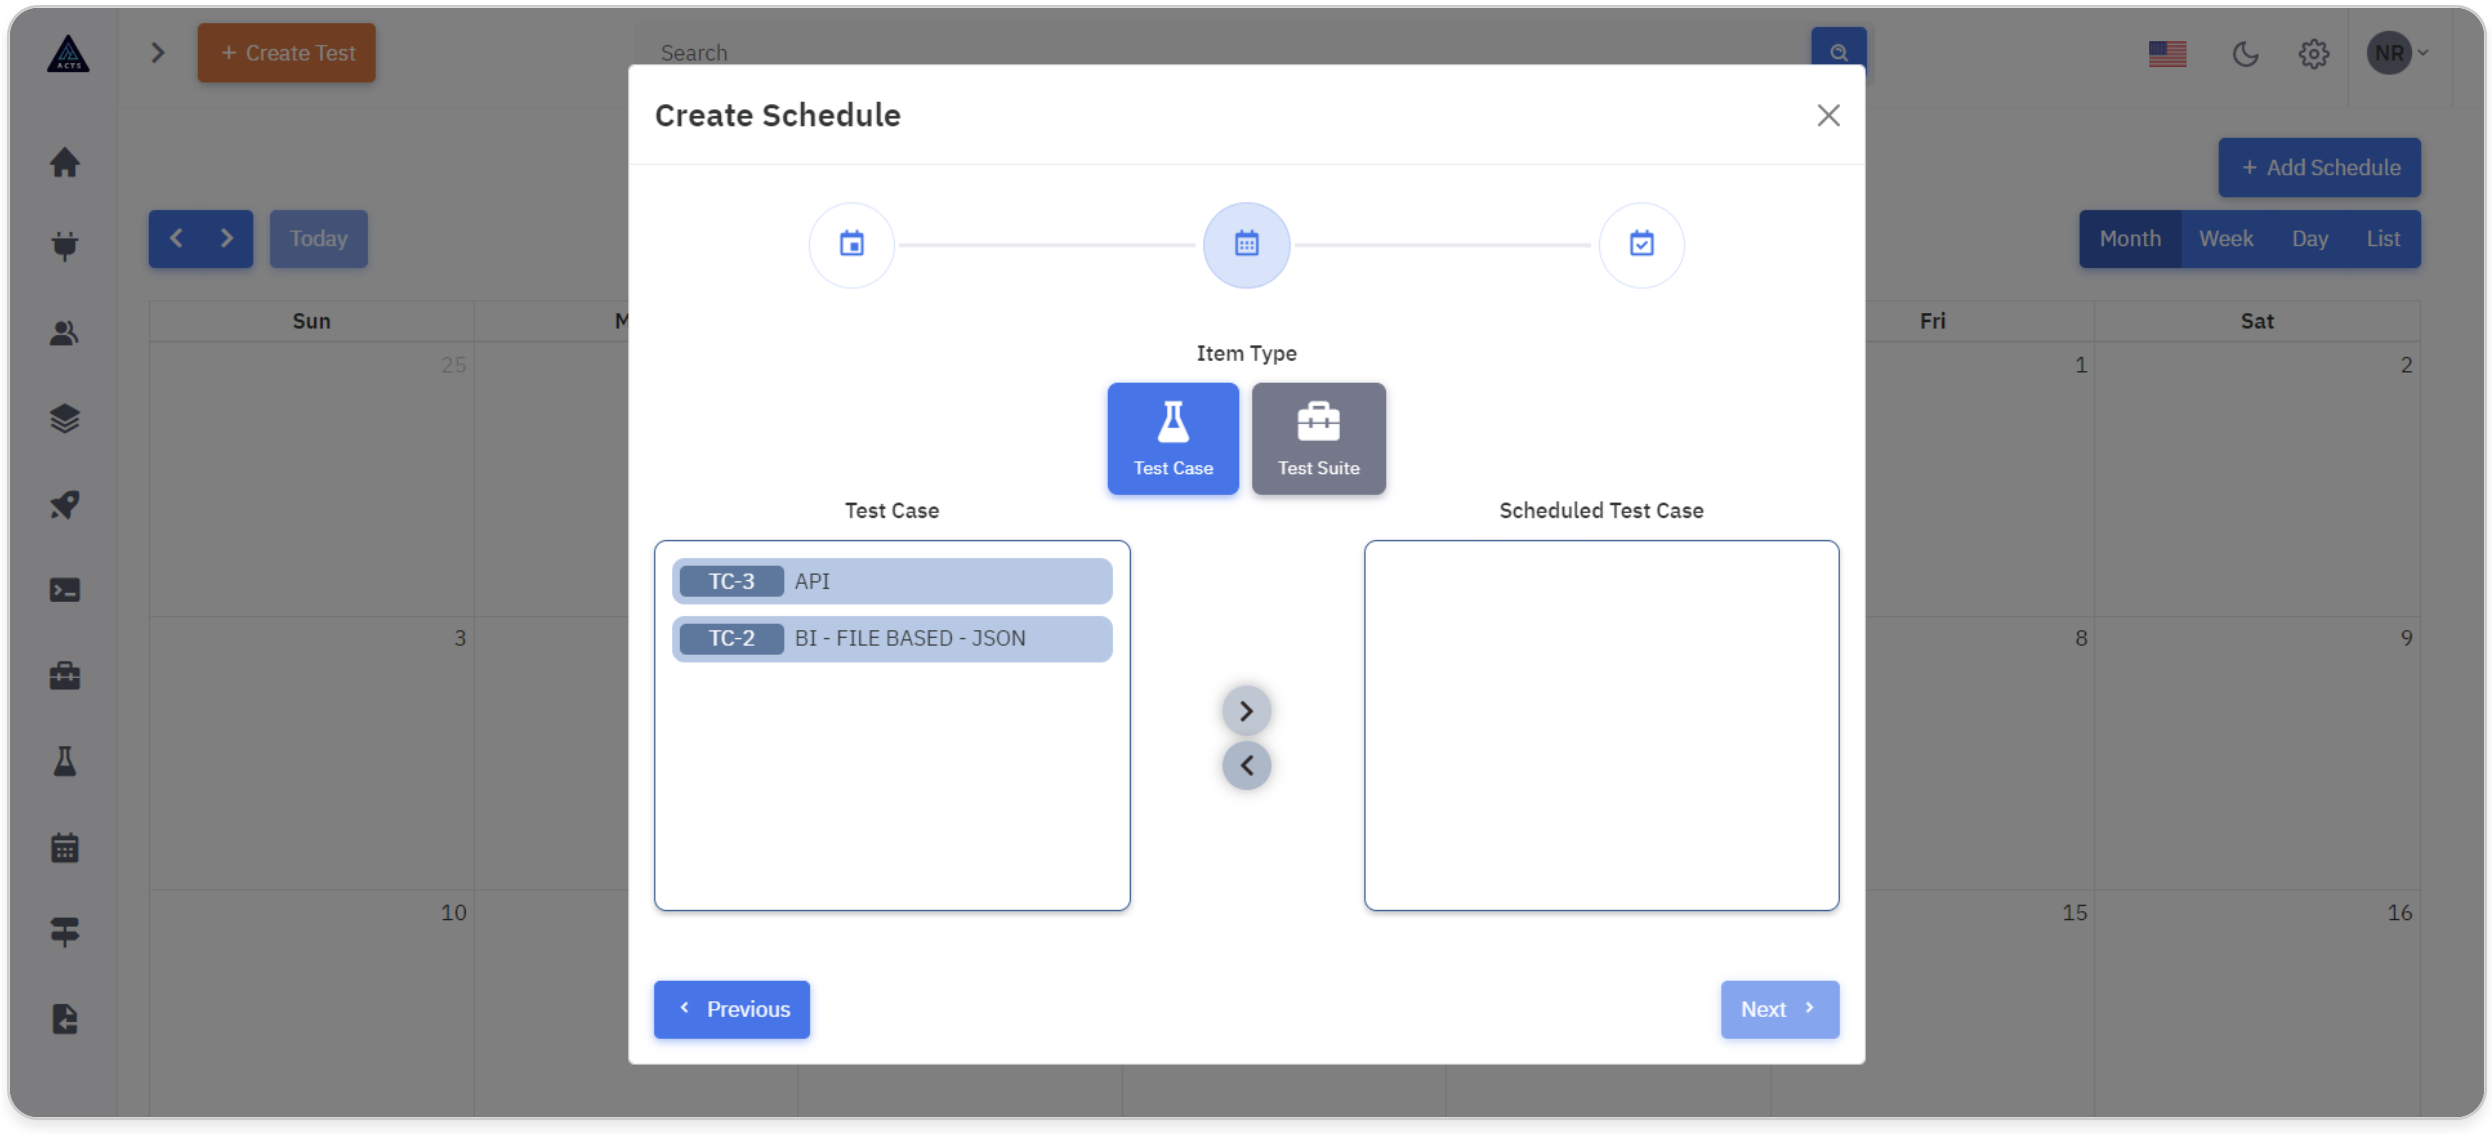
If Test Case is selected, two boxes appear: Test Case and Assigned Test Cases.
The Test Case box displays all available automated test cases.
Users can drag and drop specific test cases into the Assigned Test Cases box, indicating which test cases are part of this schedule.
Select a Test Suite

Similar to the Test Case selection, users choose from available test suites.
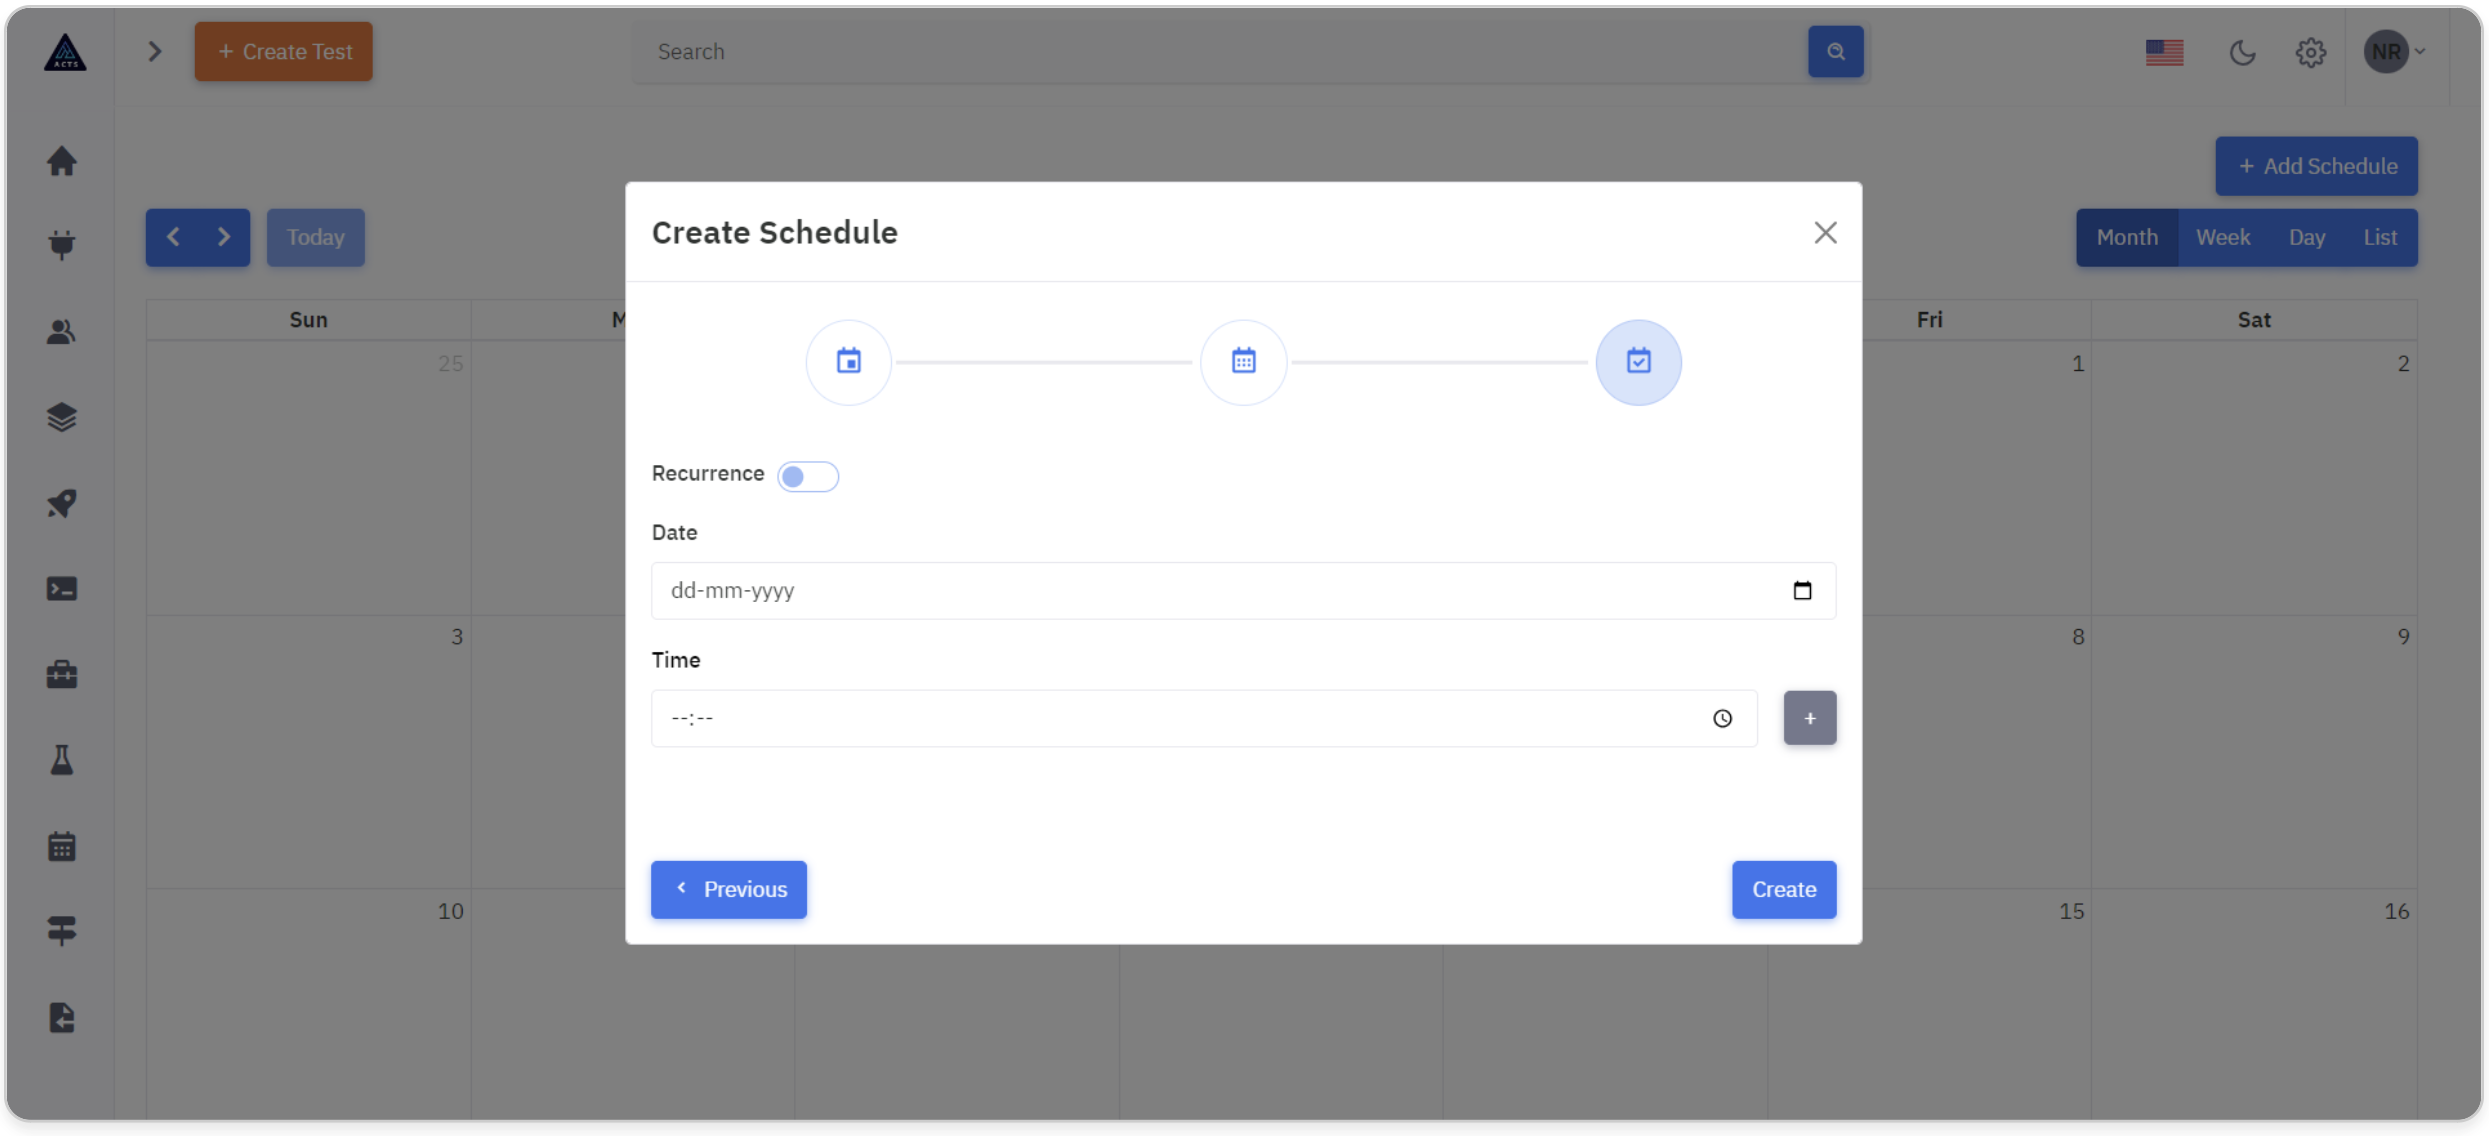
Select Recurrence Settings
In this section, users determine whether the schedule is a one-time occurrence or if it repeats at specific intervals.
Toggle Switch
Toggle the switch to activate or deactivate recurrence.
Recurrence OFF
If recurrence is off, users specify a date and time for the schedule.
Additional time slots can be added if needed.
A "Previous" button allows users to revisit the previous tab for any adjustments.
Clicking "Create" finalizes the creation of a non-recurring schedule.
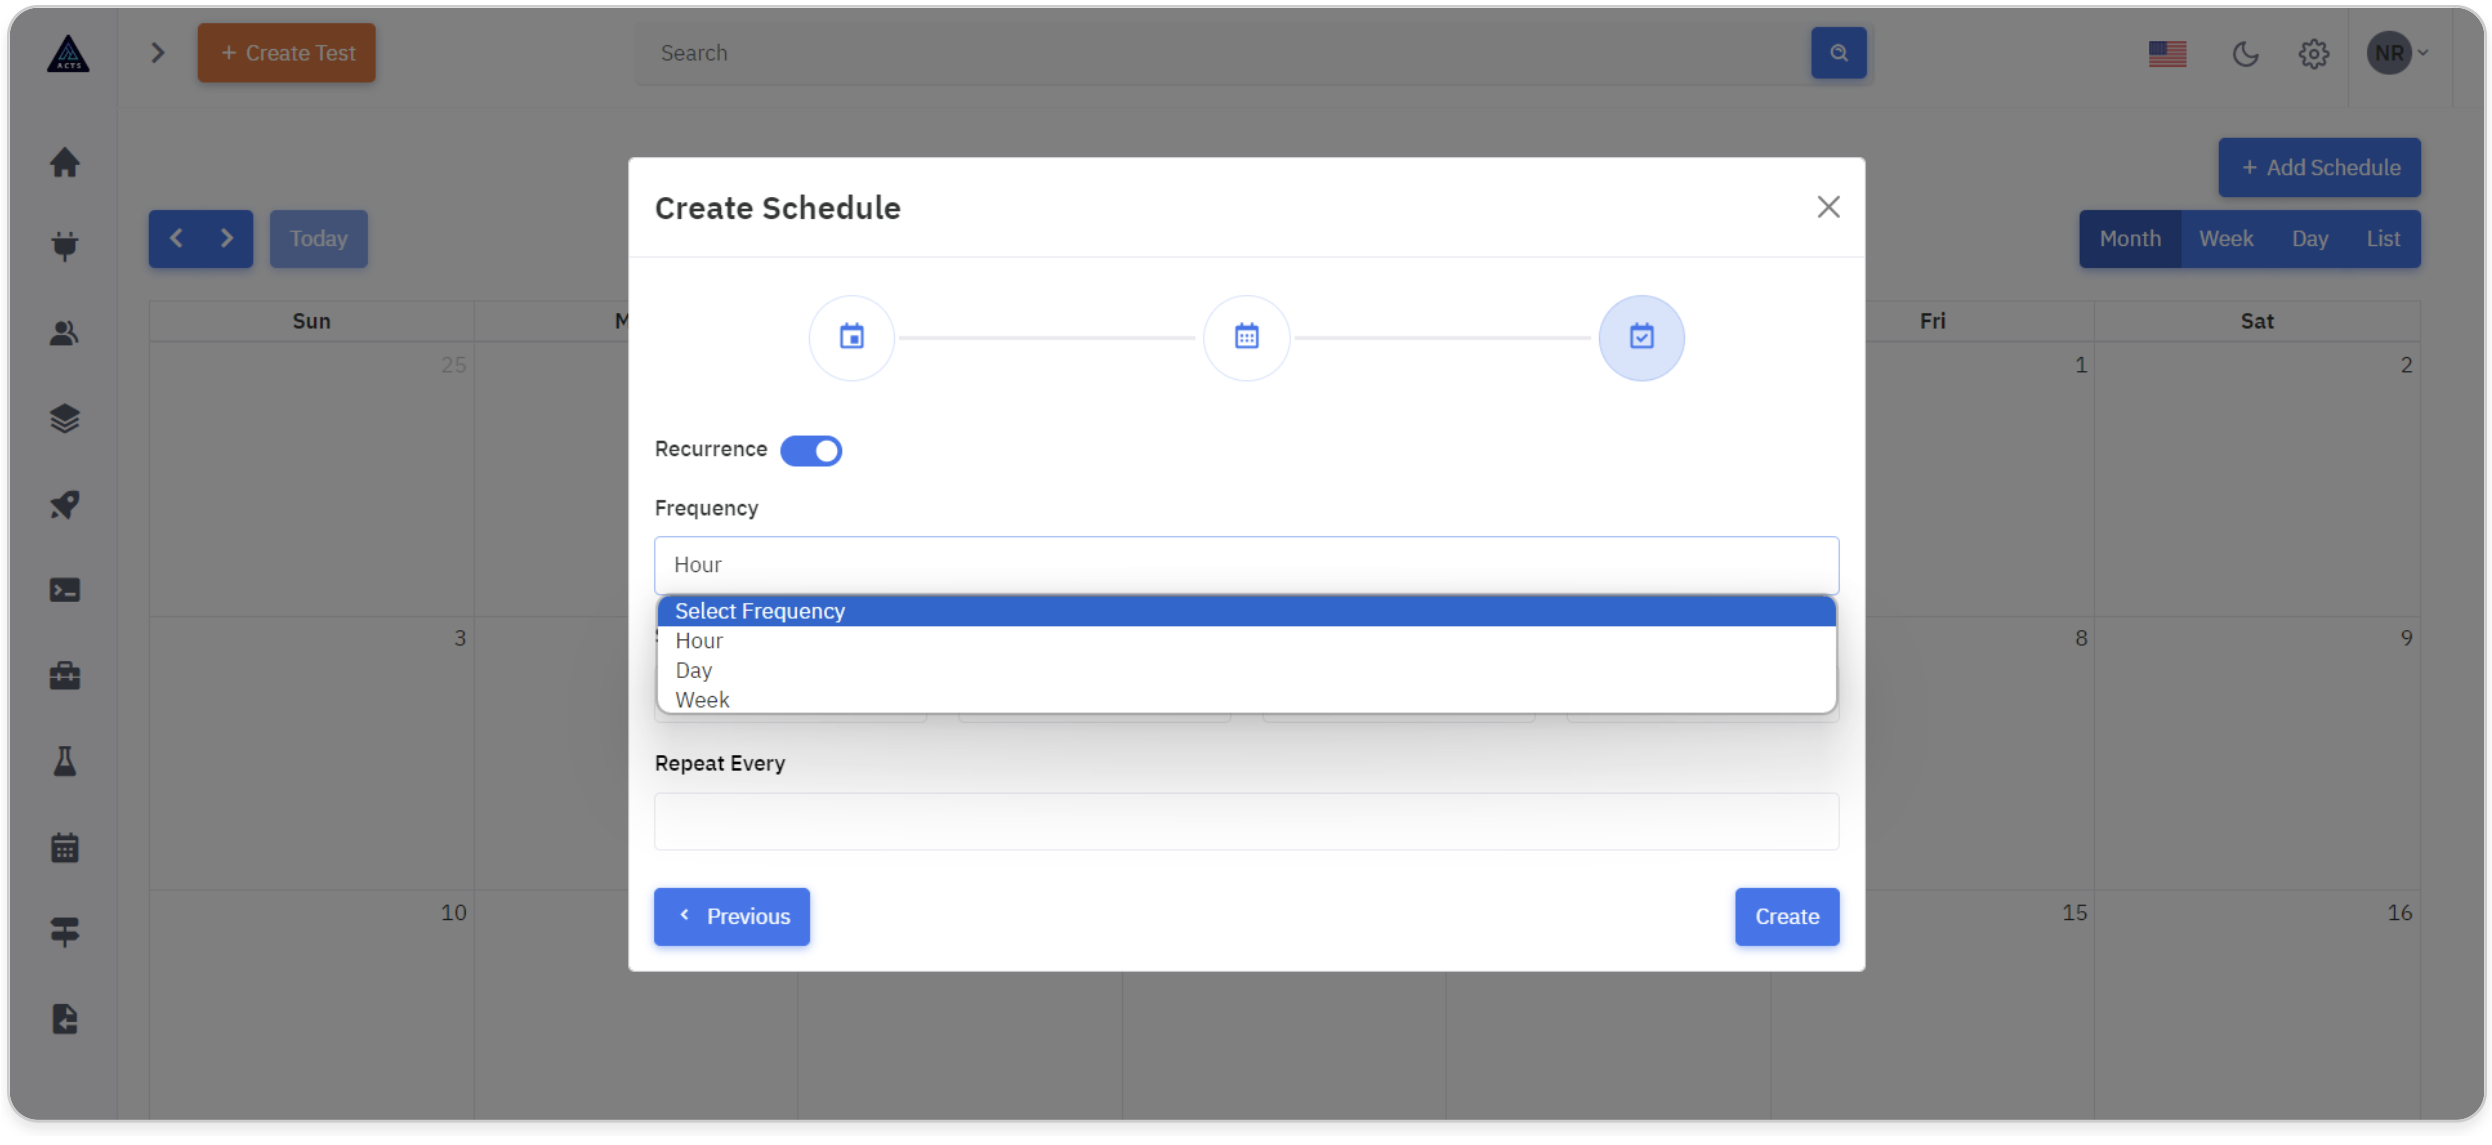
Recurrence ON
If users choose recurring schedules, this tab allows them to define the recurrence pattern in detail.
Frequency
Select from options such as Hourly, Daily, Weekly, Monthly, or Yearly to specify how often the schedule will repeat.
Hourly Recurrence
Configure the start and end dates and times based on the chosen frequency.
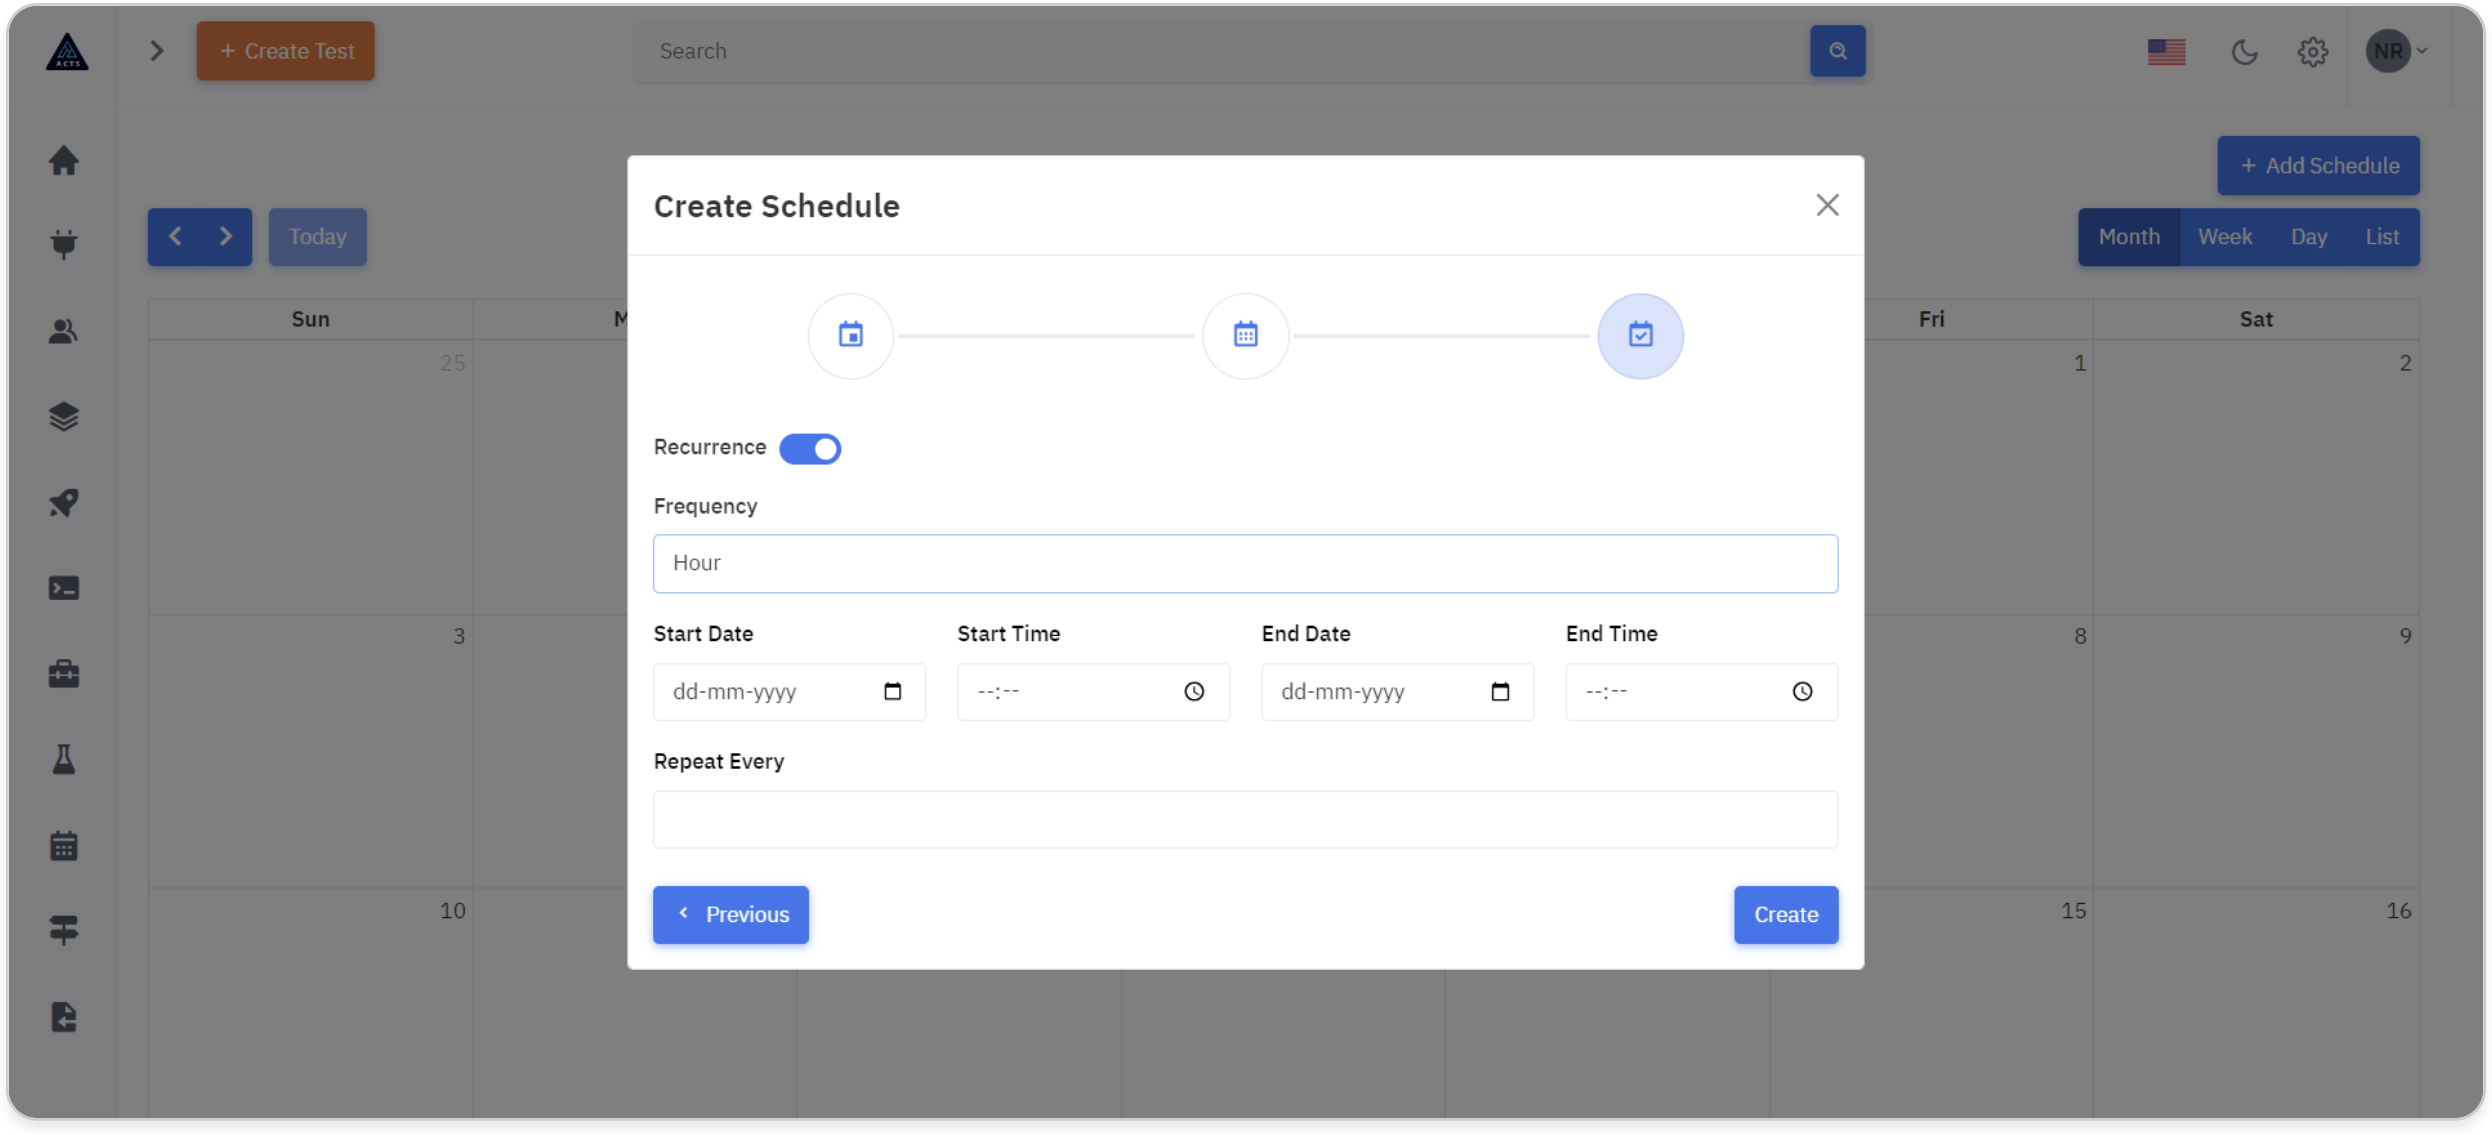
Daily Recurrence
Configure the start and end dates and times based on the chosen frequency.

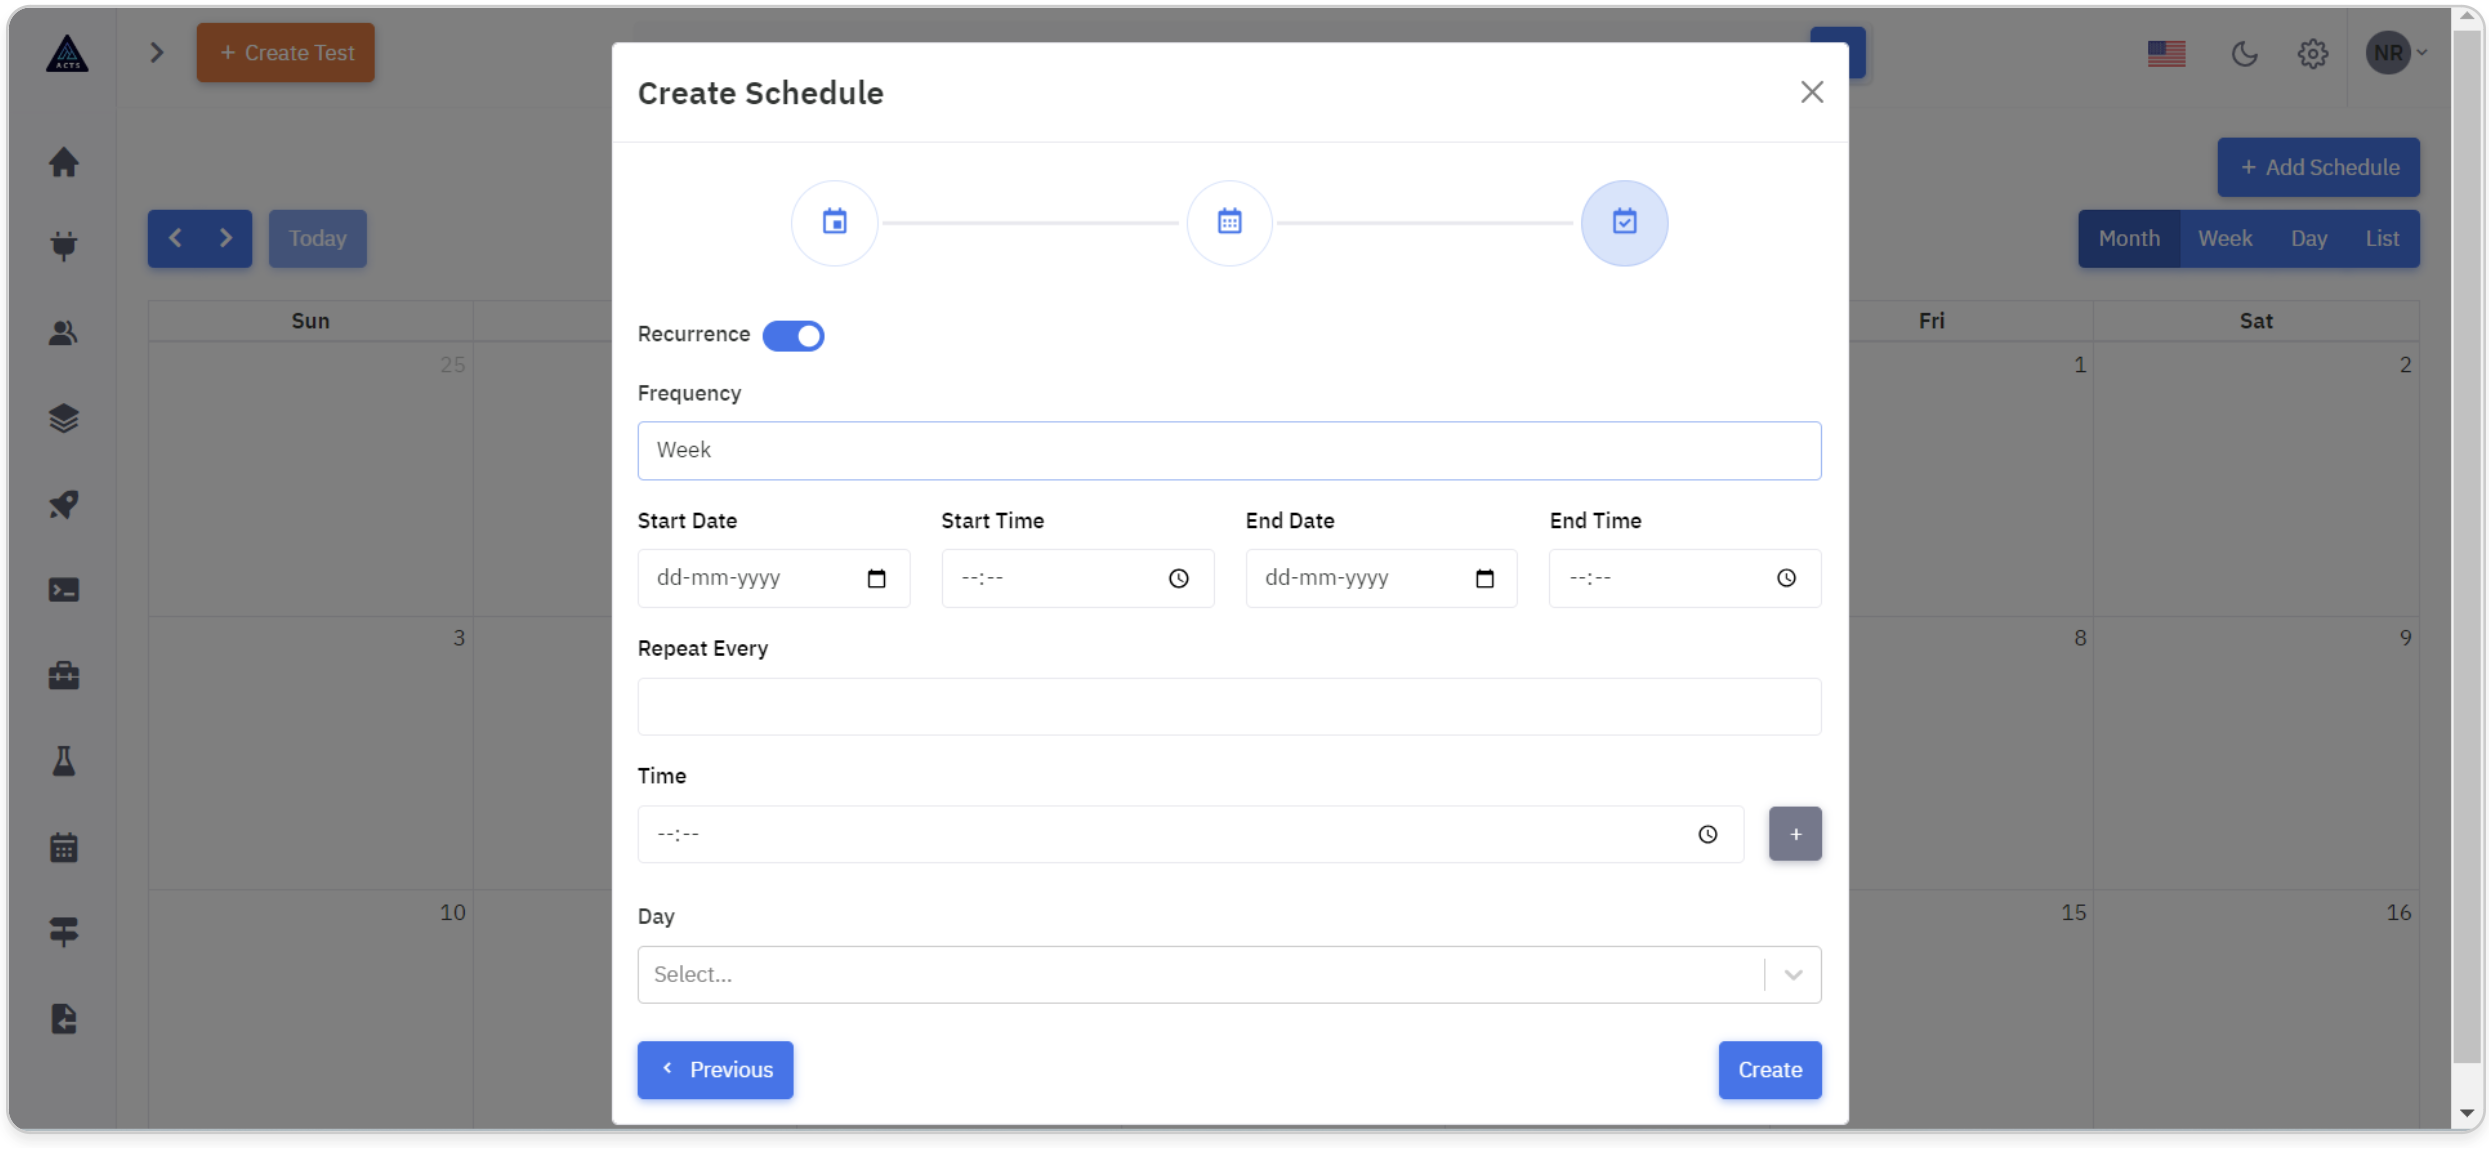
Weekly Recurrence
Configure the start and end dates and times based on the chosen frequency along with the day.
If the chosen frequency is weekly, users can select specific days of the week when the schedule will repeat.
Finish
Clicking "Create" will finish the scheduling process, taking into account all the specified recurrence details.
Update a Schedule
The created schedule appears on the calendar.
Users are empowered to make modifications to existing schedules, with the flexibility to adjust details such as Name, Description, Release, Item Type, and Recurrence settings.
This functionality streamlines the process of updating schedulers, allowing users to manage their schedules efficiently while maintaining accuracy and relevance.
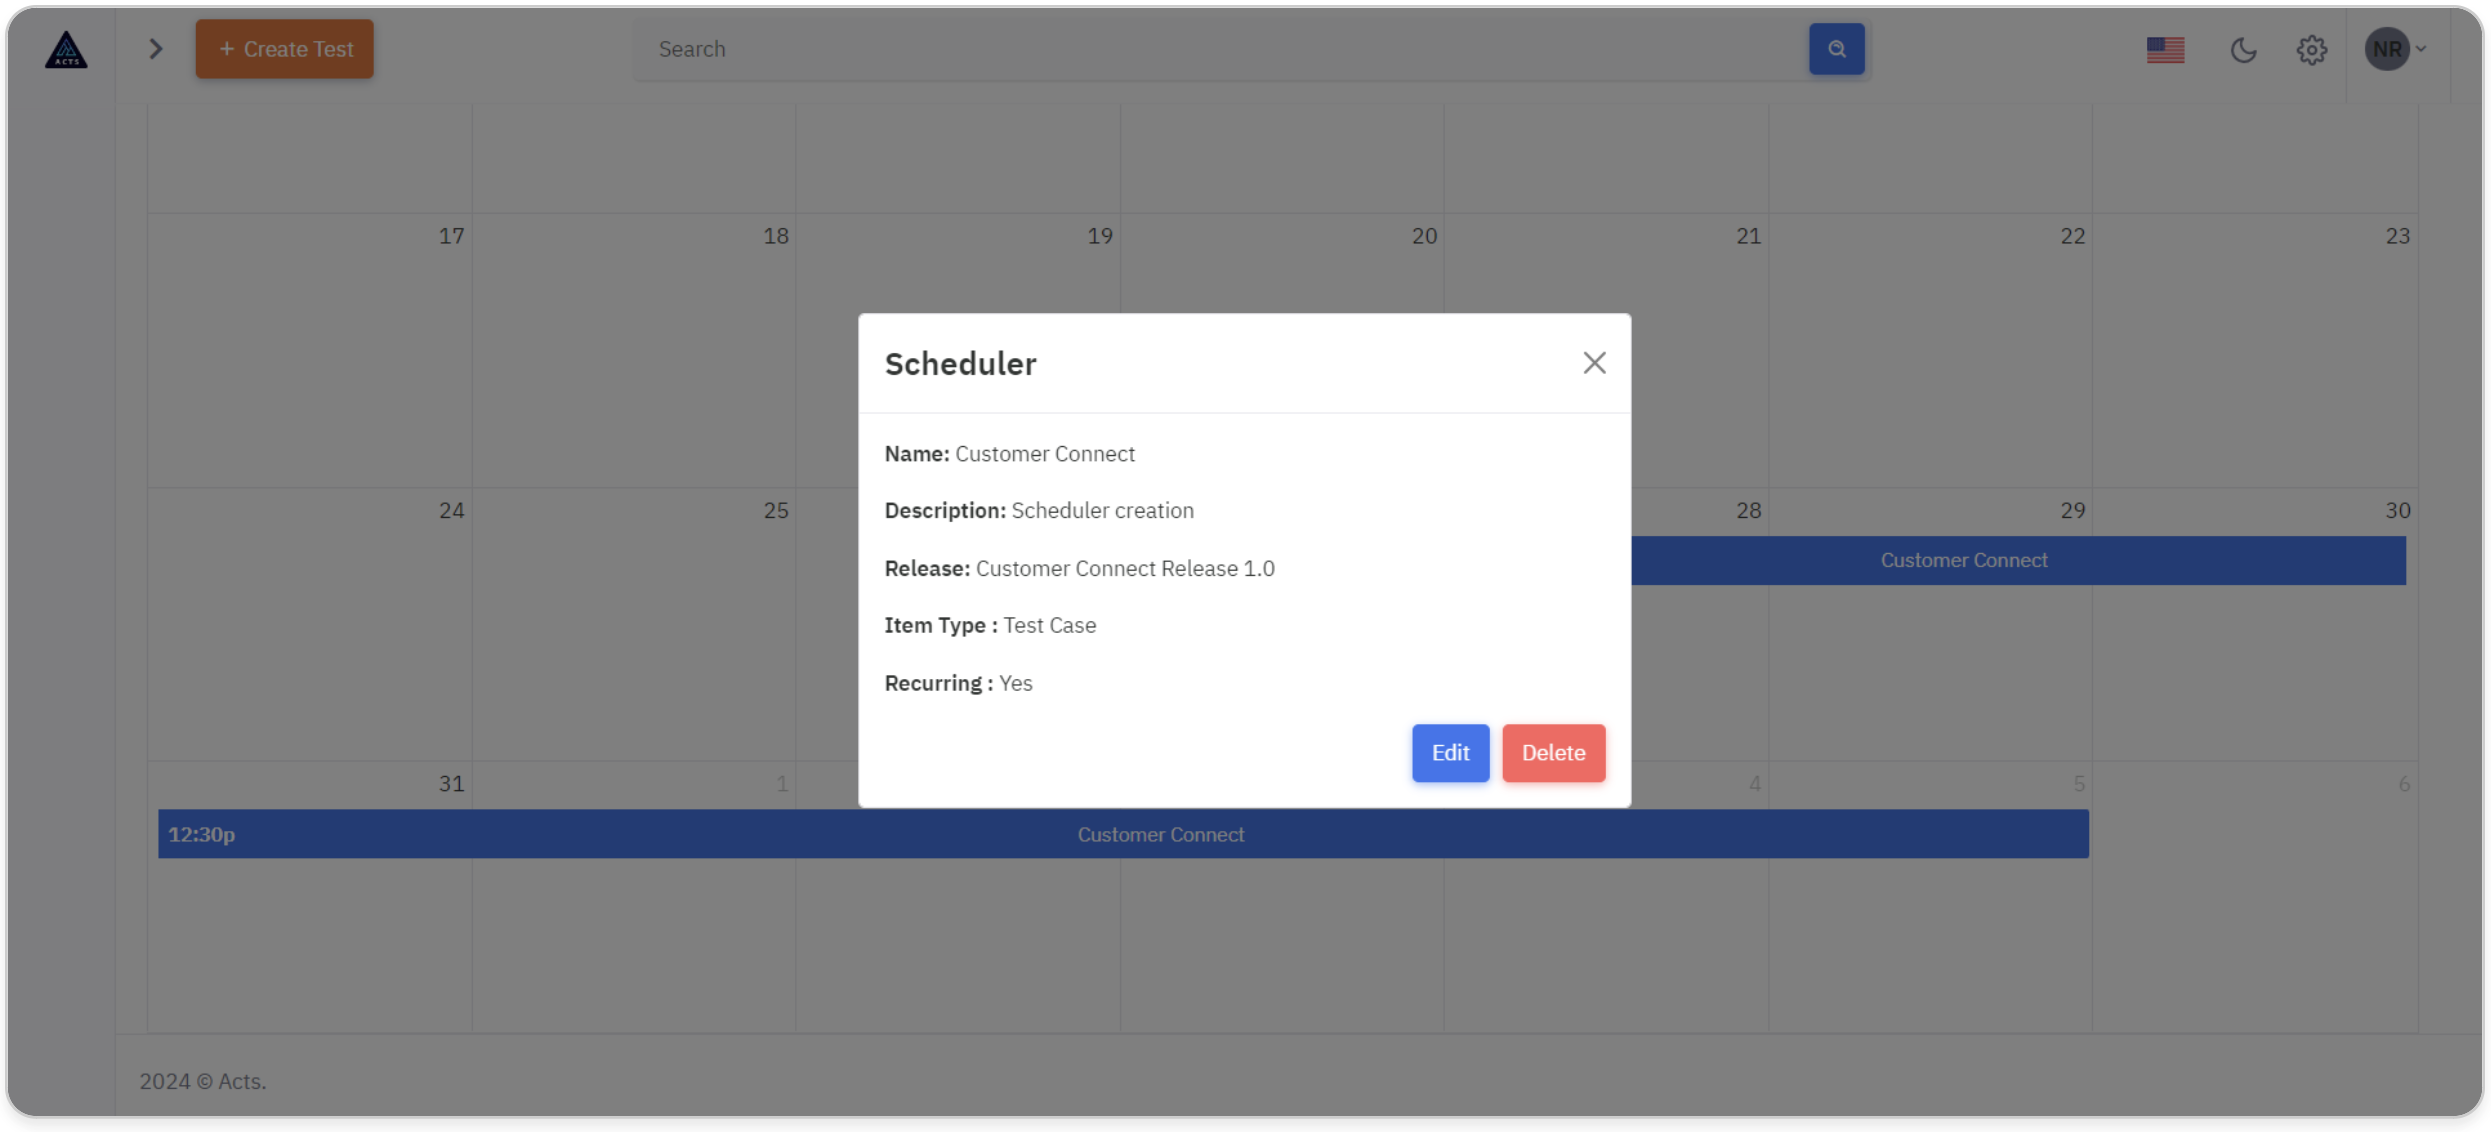
Upon clicking the "Edit" button, users are seamlessly redirected to the wizard interface populated with existing data.
This intuitive approach ensures a smooth transition to the editing process, where users can easily make modifications to scheduler details without any hassle.
When users click the "Delete" button, the system promptly initiates the deletion process, removing the selected scheduler from the system.